

In part 1 of this series, we covered the installation of a Session Recording Server and Agent in a simple configuration, ideal for Proof-of-Concept testing, with most components on a single server.
There are additional installation options that wasn’t covered. For example, installing the database on a cloud platform, or scripting the installation process so it runs silently unattended. Please see Citrix documentation for more information about those installation scenarios.
In this post, we’ll go over essential settings to configure post-installation, ensuring the Session Recording server is operational.
Configure The Session Recording Agent
Let’s begin by configuring the Windows 10 VDA (that we used in part 1) running the Session Recording Agent.
- Click Start and look for the Session Recording Agent Properties app.
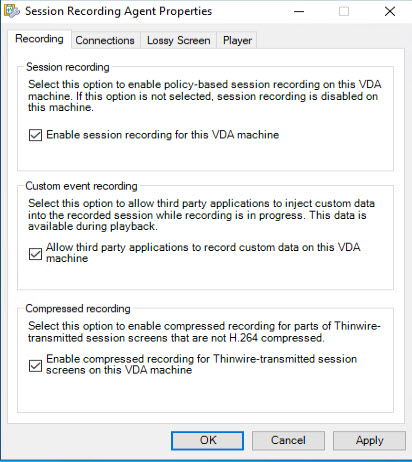
- Confirm that session recording is enabled on the agent. Optionally, you may enable custom event recordings, which allows third party applications to record custom data available during playback. Another option is to enable compressed recordings which can reduce the file size for portions of Thinwire-transmitted sessions not using H.264 compression. Note: Thinwire is the default display remoting technology in Citrix Virtual Apps and Desktop.
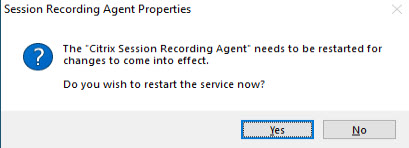
- If changes were made, you will be prompted to restart the agent service. Click Yes to restart the service.
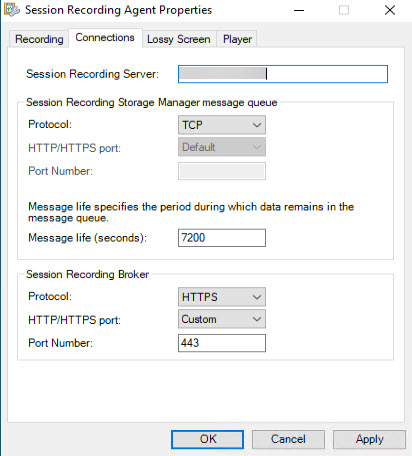
- Reopen the Session Recording Agent Properties and go to the Connections tab.
- The name of the Session Recording server should be listed by default. If it’s not there, enter the FQDN of the server.
- You can leave the default settings for the Session Recording Storage Manager message queue and the Session Recording Broker. However, if you prefer using HTTP protocol instead of HTTPS for the Session Recording Broker, you can change it here.
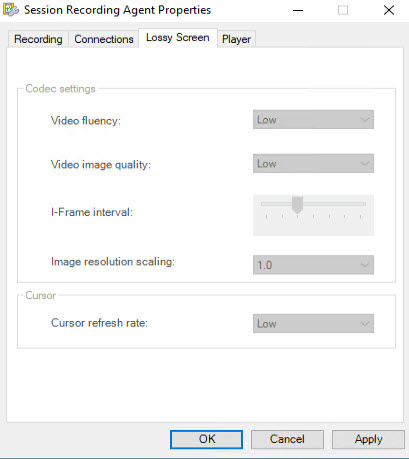
- The next tab for Lossy Screen is not configurable yet because there is no active session or an event response policy set that has lossy screen recording enabled. If there was then the codec settings would be configurable here. We will skip this tab for now.
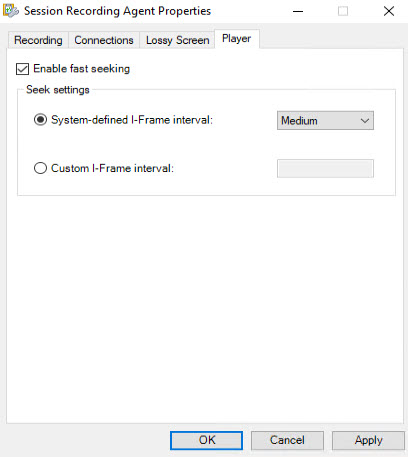
- The next tab Player allows you to enable or disable fast seeking in the Session Recording player and determines how often an i-Frame is generated; whether it uses a system-defined interval or a custom interval that you define. We’ll leave the default setting for enabled with system-defined i-Frame interval.
- Click OK, and then click Yes if prompted to restart the Citrix Session Recording Agent service again.

Configure The Session Recording Server
- Connect to the Session Recording server. Click Start and launch the Session Recording Authorization Console in the Citrix folder.
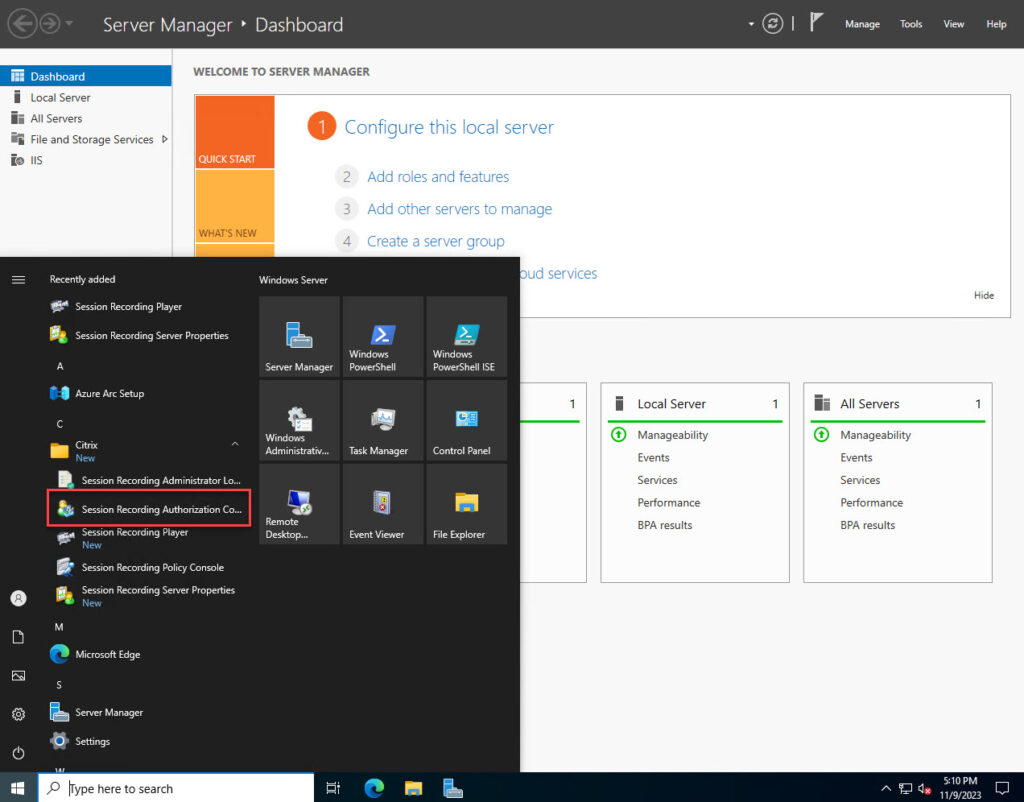
- This console allows you to assign administrators or users to six different Session Recording roles:
- LoggingWriter – Has rights to write the Administrator Logging logs.
- LoggingReader – Has rights to read the Administrator Logging logs.
- Player – Has rights to use the Session Recording Player to view recorded sessions.
- PolicyQuery – Allow policies to be queried by the Session Recording agent.
- PolicyAdministrator – Grants administrator rights to session recording policies.
- PrivilegedPlayer – Grants privileged rights to place and remove access restrictions on recordings and archive and delete recordings.
The local administrators’ group is added by default to the LoggingWriter and PolicyAdministrator roles. For this test POC, add yourself or a designated administrator group to the Player role. We will be testing the Session Recording player in part 3 of this series.
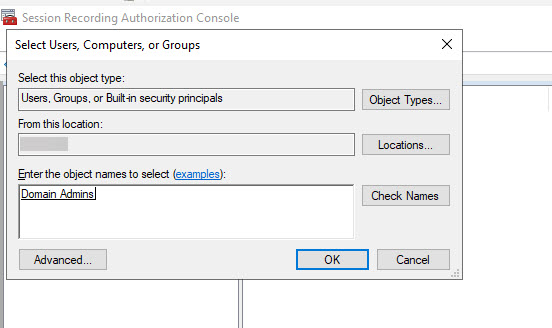
Right click the Player role and select Assign Users and Groups, then select from Windows and Active Directory.
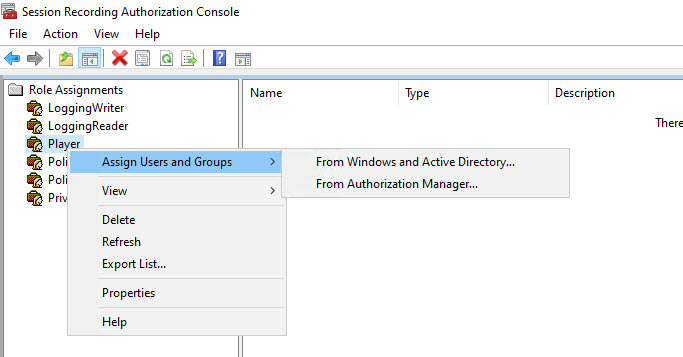
Then enter the name of the user or group you want to have access.
- You can repeat the steps for any other role you’d like to add specific users or groups to. Note: You can also add users through Windows Authorization Manager, but that procedure is beyond the scope of this article. You can review Microsoft’s documentation on how to set that up.
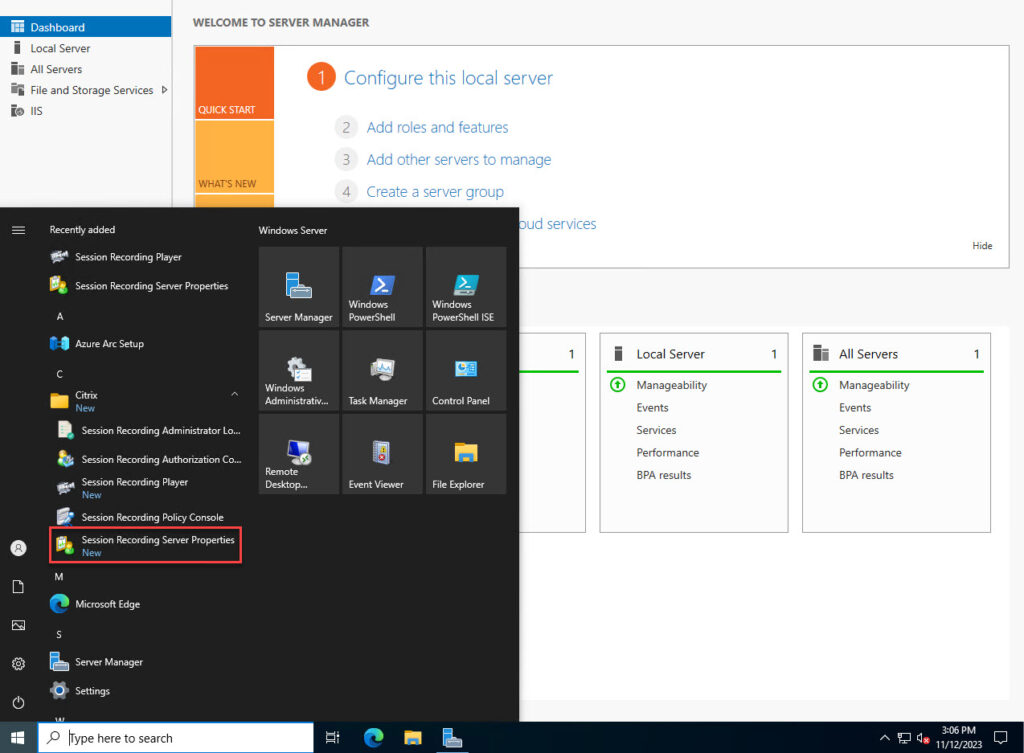
- Close the Session Recording Authorization Console and return to the Start menu and open Session Recording Server Properties.
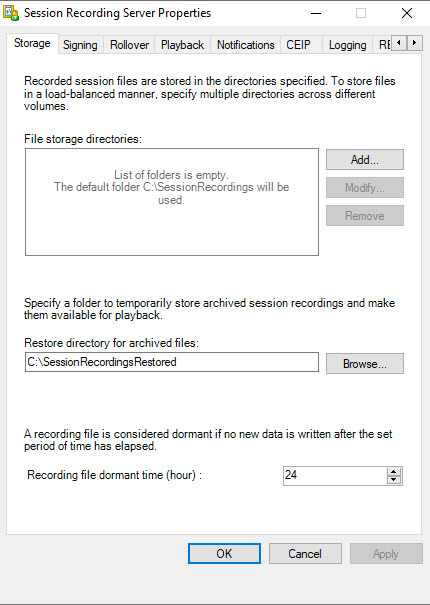
- Click the Storage tab. Here you can specify where session recording files will be stored. By default, the C:\SessionsRecordings folder is used. You can also specify the location where restored archived recordings are stored, and the length of time that has to elapse for a recording file to be considered dormant. For this guide I will leave the default settings.
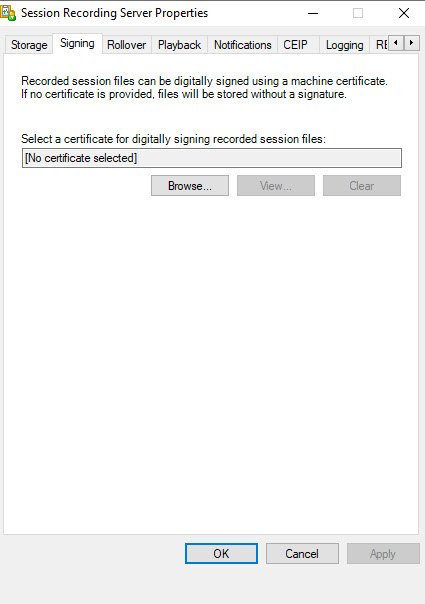
- Under the Signing tab, you can assign a certificate to digitally sign session recordings for extra security. I’m going to leave the default settings, which disables digital signing.
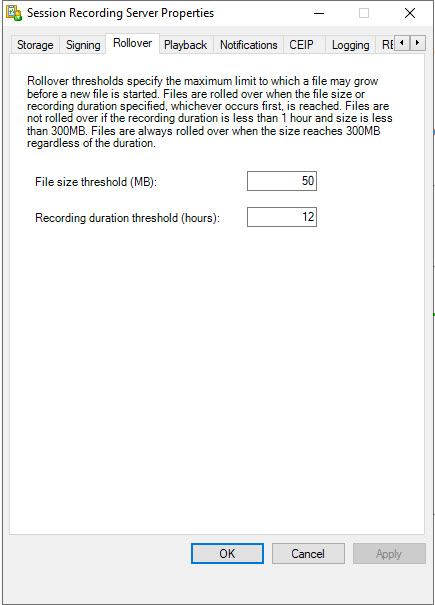
- The Rollover tab allows you to specify the size a file may grow to before a new file is started. You can set the limit by size and by recording duration. Whichever limit is reached first will trigger the start of a new file. If the file size reaches 300MB a new file will be generated regardless of the duration. I will leave the default settings on this page.
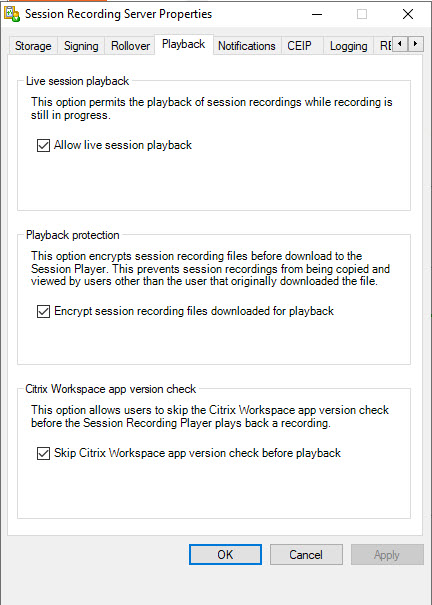
- Under the Playback tab you can enable or disable:
- Playback while a session recording is in progress.
- Encrypting session recording files that are downloaded for playback.
- Whether to skip the Citrix Workspace app version check before the Session Recording Player plays a file.
By default, all of the settings are enabled. I will leave all of the default settings on this page.
- Under the Notifications tab you can edit the message that users will see notifying them that their session is being recorded.
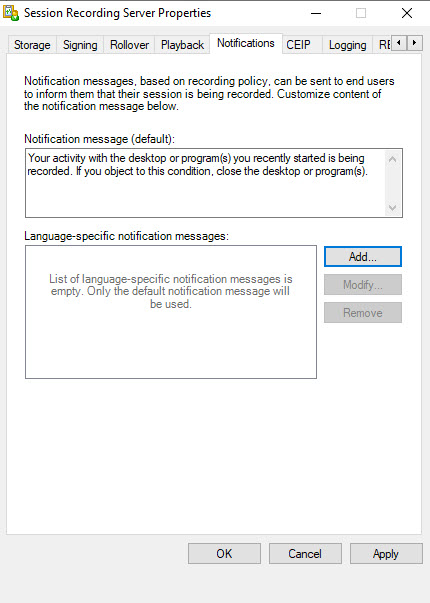
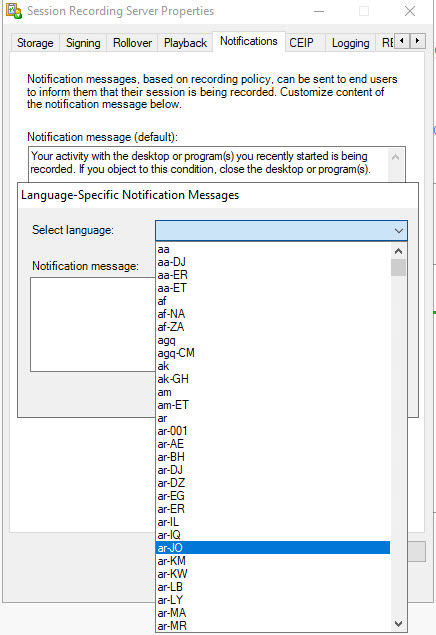
- You can also create a language-specific message that will appear to the user. If no language is selected the default message will be displayed.
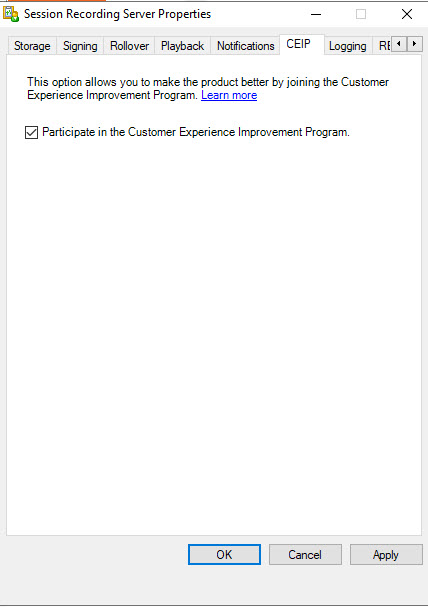
- Under the CEIP tab, you can select whether or not to participate in the Citrix Customer Experience Improvement Program.
- Under the Logging tab, you can enable or disable the Logging Service, which logs administrative configuration changes, the recording reason, and playback logging. You can also enable playback justification logging. This option requires the Logging Service to be enabled. The Mandatory Blocking setting requires users to enter a justification for playing a recording. For this guide, I will enable the Logging Service but disable the other settings on this page.

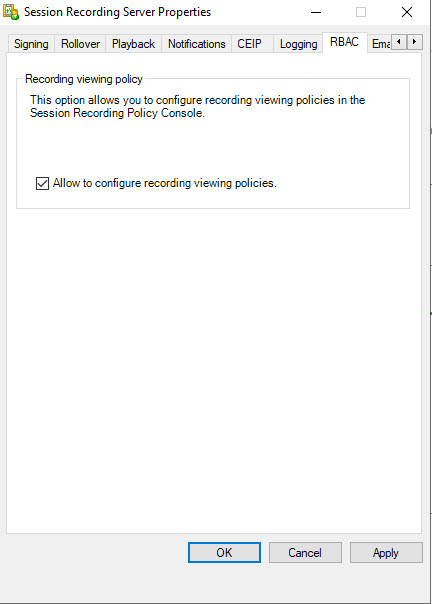
- Under the RBAC tab, you enable or disable configuring session recording viewing policies in the Session Recording Policy Console. By default, it is disabled. I will enable it in this guide.
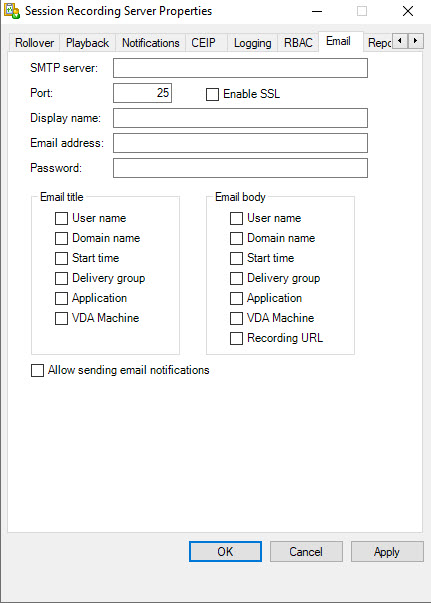
- Under the Email tab, you can configure SMTP settings to receive email alert notifications. I won’t be setting up email notifications in this guide, but you may choose to do so. Just provide your SMTP server settings and select the elements to include in the email alert.
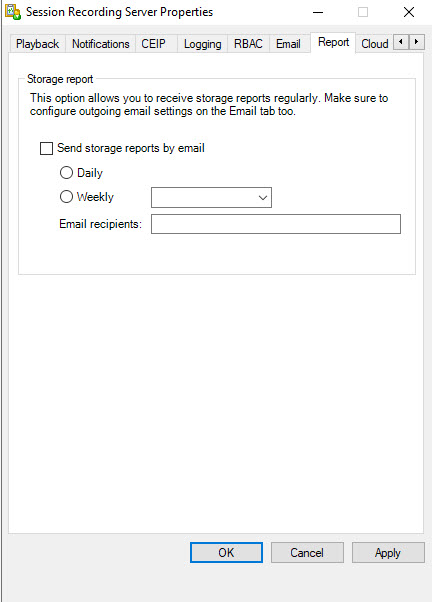
- Under the Reports tab, you can choose to receive regular storage reports. This requires the email settings to be enabled and configured.
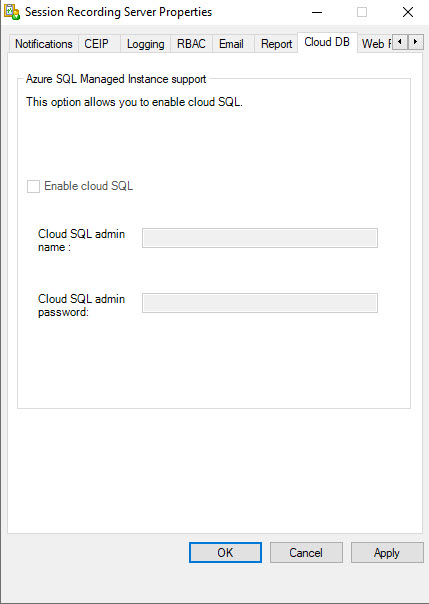
- The Cloud DB tab is used whenever the password for the Cloud SQL admin account is changed. Since we’re not using an Azure SQL Managed Instance, you can skip this tab.
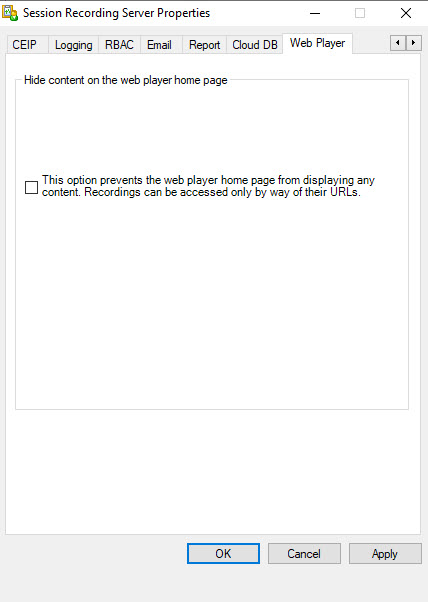
- Finally, under the Web Player tab, you can show or hide the contents of the web player home page. If this is enabled, then you need to know the URLs of recordings to access them. I will leave this setting disabled.
This concludes configuring settings on the Session Recording server and the Session Recording agent. In part 3 of this series, we’ll continue with configuring Session Recording policies.
The views expressed by the author do not represent those of Citrix or Cloud Software Group.
Leave a Reply