

AI is undoubtedly the hottest trend in technology right now. The pace at which AI-related applications are being released is astonishing, making it challenging to keep up.
The giants of AI currently dominating the scene are the chatbots: ChatGPT, Claude, and Gemini to name a few. However, what recently piqued my interest are the smaller personal chatbots that you can run on your own hardware. HowToGeek.com published an article on how to install and run your own Alpaca chatbot, so I decided to give it a try. The Alpaca language model was developed by Stanford University, based on Meta’s publicly available LLaMA model. However, since HowToGeek’s article was published, Stanford has closed access to their Alpaca demo model. So, I made a pivot and installed the Meta LLaMa 2 model instead.
Things To Be Aware Of
AI models come in various sizes, so if you decide to host your own, it’s important to choose one based on the tasks you anticipate needing it to perform. Typical sizes for the smaller models include 7B, 13B, and 30B. The larger models typically range in sizes from 44B to over 100+B. The ‘B’ refers to billion indicating the number of parameters. The higher the number, the better response and complexity the language model can handle. ChatGPT 4, for instance, is reportedly running over eight models, each consisting of 220B parameters, totaling 1.76 trillion parameters. Whew, impressive!
Parameters can be thought of as the values used by the AI algorithm to make decisions and generate output when prompted. The AI learns through extensive training, where desired outputs are weighted more heavily than others. Having more parameters doesn’t necessarily mean the AI system is smarter. It simply has the potential to be smarter. However, the quality of data the AI has access to and the training it undergoes determine how good the AI system can be.
What Size To Consider For A Personal Chatbot
The 7B model can handle small, straightforward tasks and has basic knowledge. The 13B model can handle more advanced tasks and possesses more world knowledge. The 33B and higher models can handle complex tasks and have even greater world knowledge.
The higher the model though, the more substantial the resources needed to run it. For Windows systems, HowToGeek.com recommends:
RAM:
- 16 – 32GB for 7B – 13B models
- 32GB+ for 30B models
Storage:
- 4GB for 7B
- 8GB for 13B
- 20GB for 30B
CPU:
- Any AMD Ryzen
- Intel 7th Generation or newer
In addition, the following software is recommended for a Windows installation:
- Windows Subsystem for Linux 2
- Git
- Docker
- Serge
Please note that if you intend to build on Linux, MacOS, or on a cloud platform like AWS, Azure or GCP, the requirements and build process can vary significantly.
Build Process
The first time I attempted the installation I decided to follow the steps outlined by HowToGeek.com to build the Alpaca 13B model on a Windows 11 VM. However, some of the steps did not work as expected, and I had to guess at which model to use. In the end, I had a MedAlpaca installation, that wasn’t functioning correctly, so I decided to to start over.
On my next attempt, I built it on Windows Server 2022. My reasoning was that most businesses interested in having their own in-house AI chatbots would likely build on a central server accessible to all employees, rather than creating individual chatbots on desktops.
Since I chose to build the AI model on a VM, one step I had to perform was enabling nested virtualization. If you’re not familiar with nested virtualization, it allows you to build a virtual machine within a virtual machine.
Install The Windows Subsystem for Linux
The next step is to install the Windows subsystem for Linux 2 (WSL). This is a straightforward process. Open PowerShell and run the following command: wsl -install.
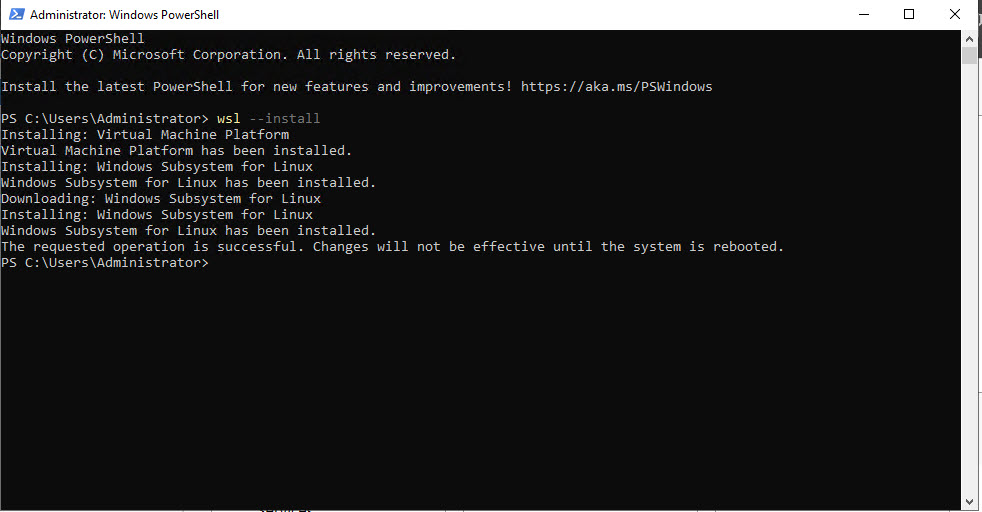
After the initial installation is complete, reboot the server. Upon logging in it should continue with the Ubuntu installation.
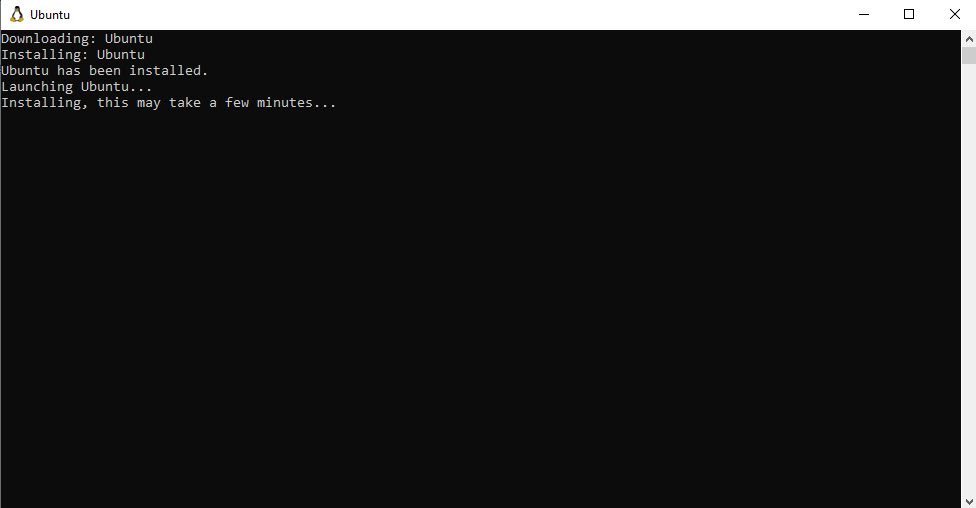
Once that is finished, you’ll be prompted to create an Ubuntu username and password.

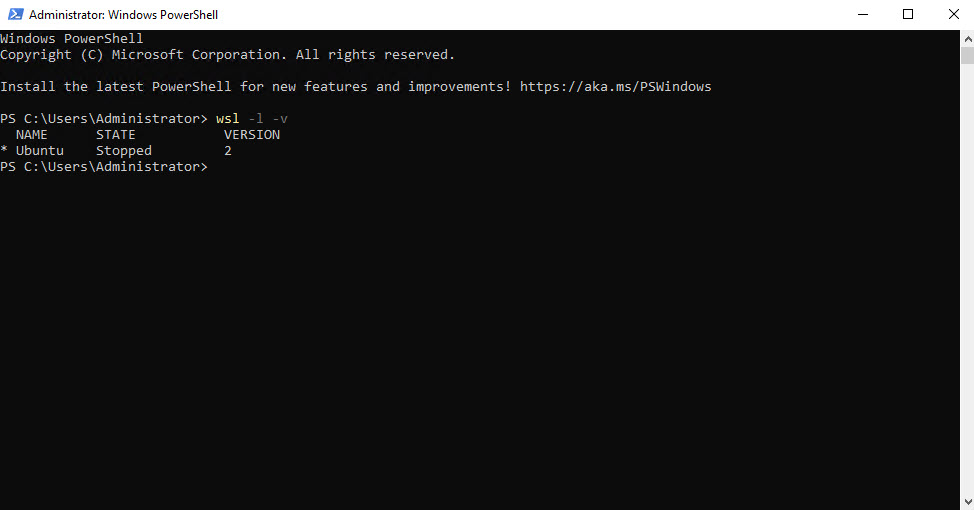
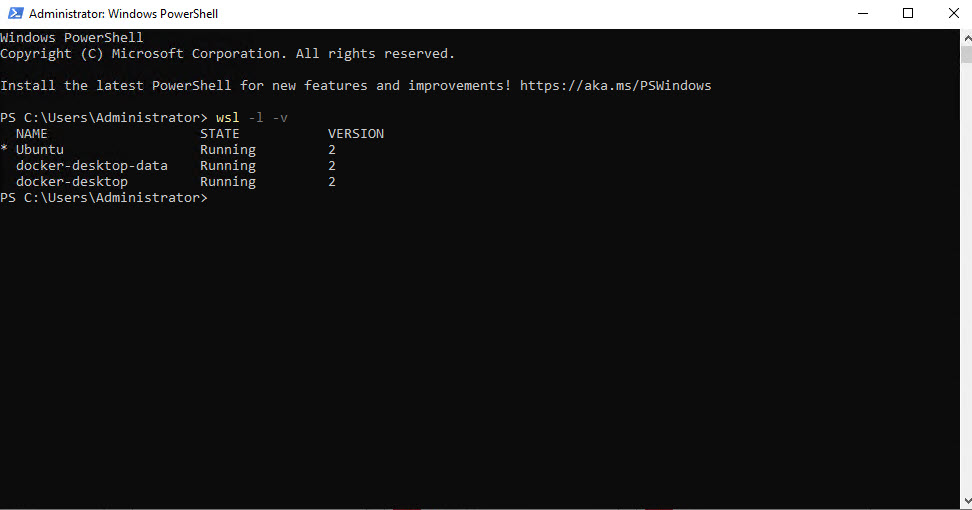
You can run wsl -l -v to check and confirm the Ubuntu installation and its current state.
Install Docker
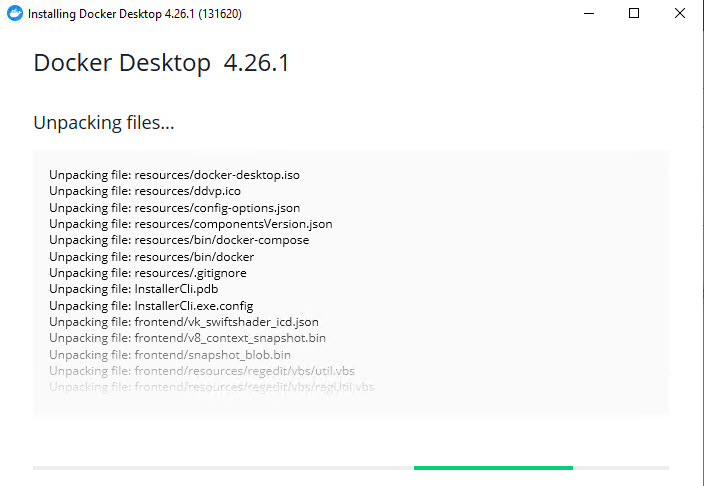
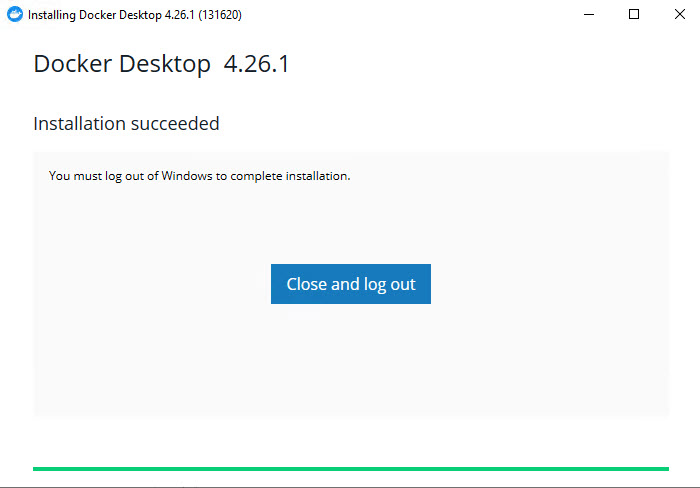
Next, proceed with the Docker installation. Docker allows you to run applications in containers, keeping them isolated from the host. On the Docker website, I had to first create a user account before I could download and install the Docker Personal edition. During the installation, I kept the default settings. It takes a little while to download and unpack all of the necessary files.
Once done, I clicked the Close and log out button and the server rebooted.
After the server rebooted, I opened PowerShell and ran wsl -l -v command again. You should now see the state of Ubuntu and the Docker services.
Install Git
The next step is to download and install Git. Git is used to facilitate the download of Serge from Github. Serge is the chat interface for the LLaMa-based models. It isn’t mandatory to use Git for this process, but it makes it easier than downloading and configuring Serge manually. I installed Git for Windows, and like with the Docker installation, I kept all of the default selections.
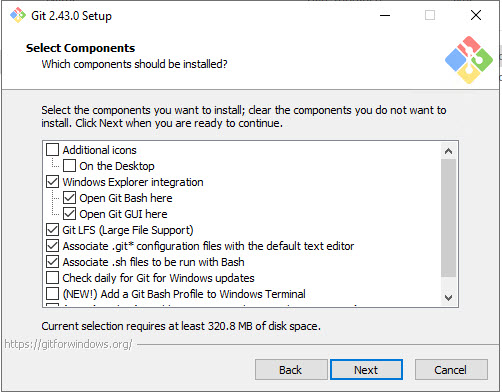
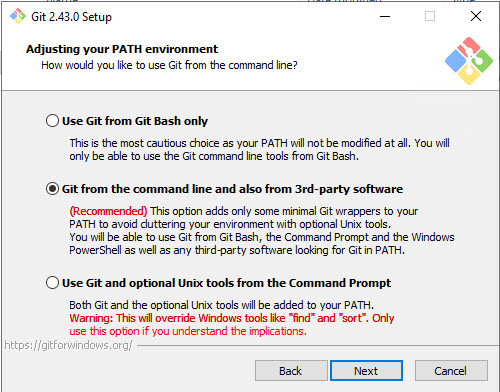
There are many steps to go through while installing Git, so it’s beneficial to see what is being configured at each step. I won’t go through each step, since I kept all of the default selections. In particular, at the step configuring the PATH environment setting, you may want to keep the recommended setting, which enables Git commands from PowerShell, the Command Prompt or any third-party programs looking for Git in PATH.
Install Serge
After the Git installation is complete, you can download Serge. Make sure the Docker Desktop is running, then run the following command in PowerShell:
git clone https://github.com/nsarrazin/serge.git ; cd serge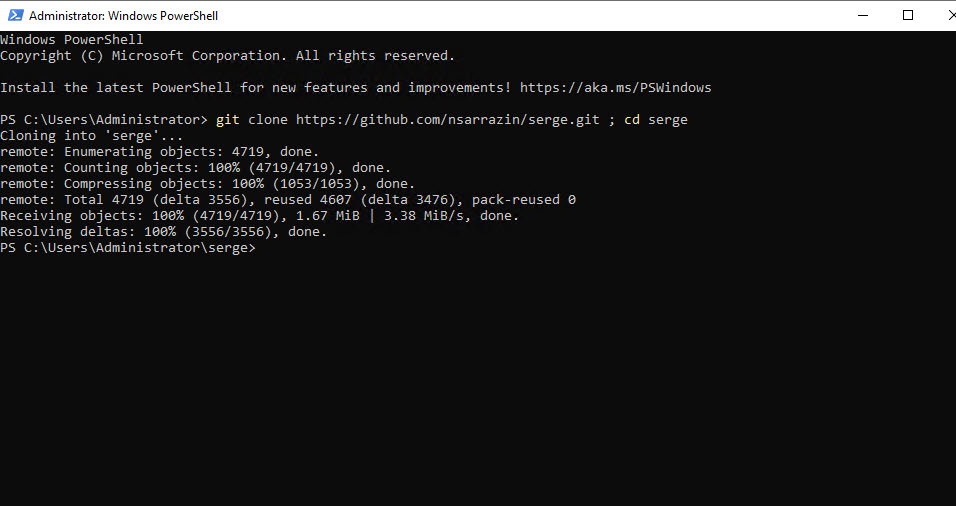
Next, run the following command in PowerShell:
docker compose up -dThis will pull the Serge layers into one container.
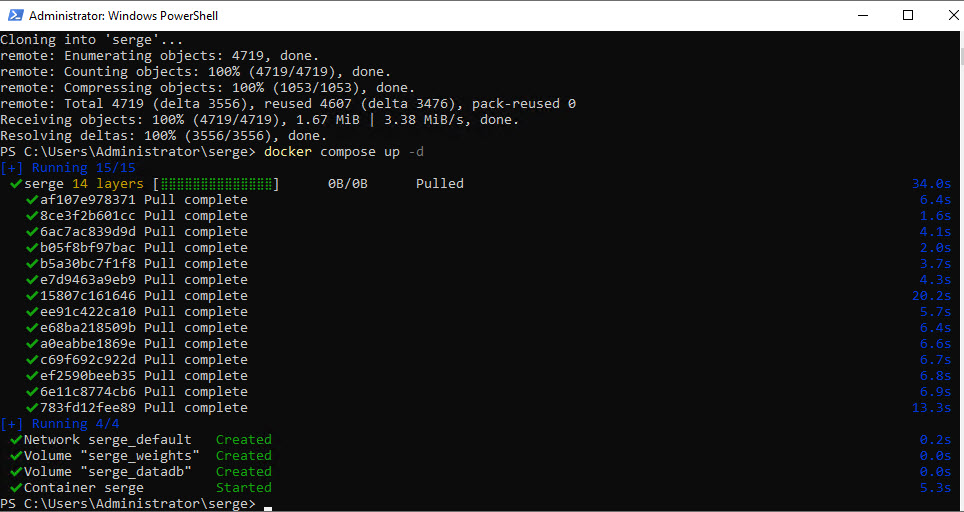
You can check Docker to confirm that the container is running.
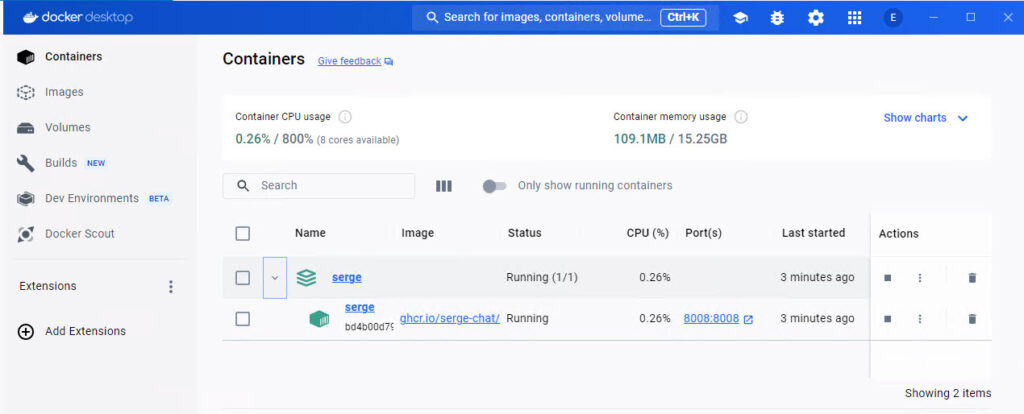
At this point, everything should be ready to go. Open a browser to https://localhost:8008 to run Serge. The interface is similar to ChatGPT.
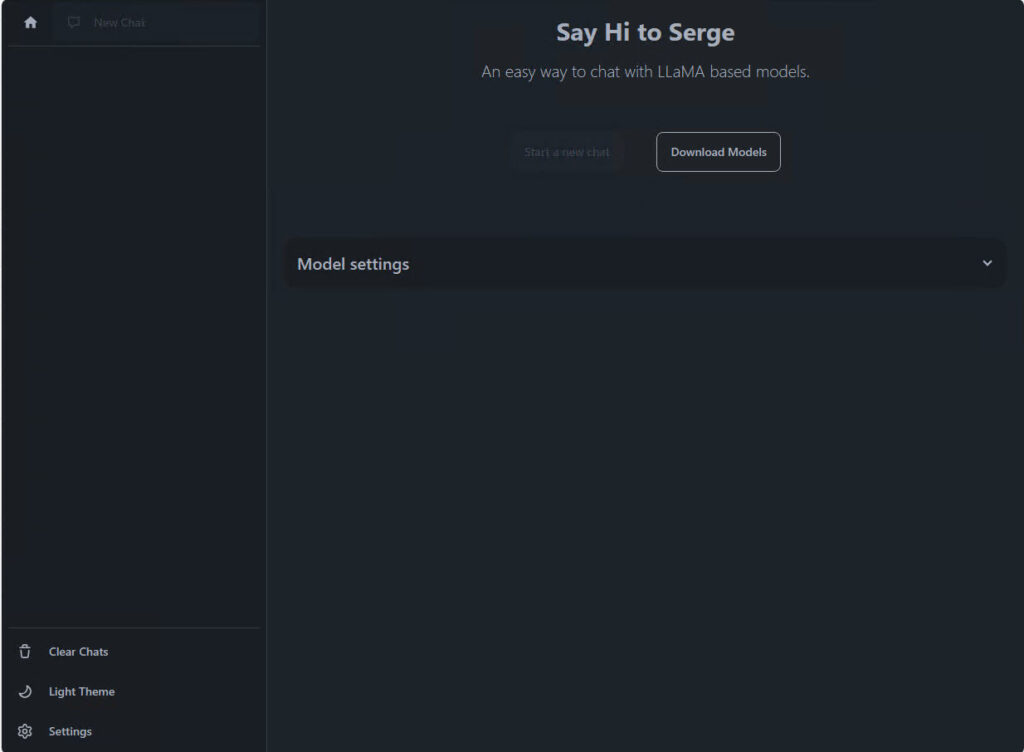
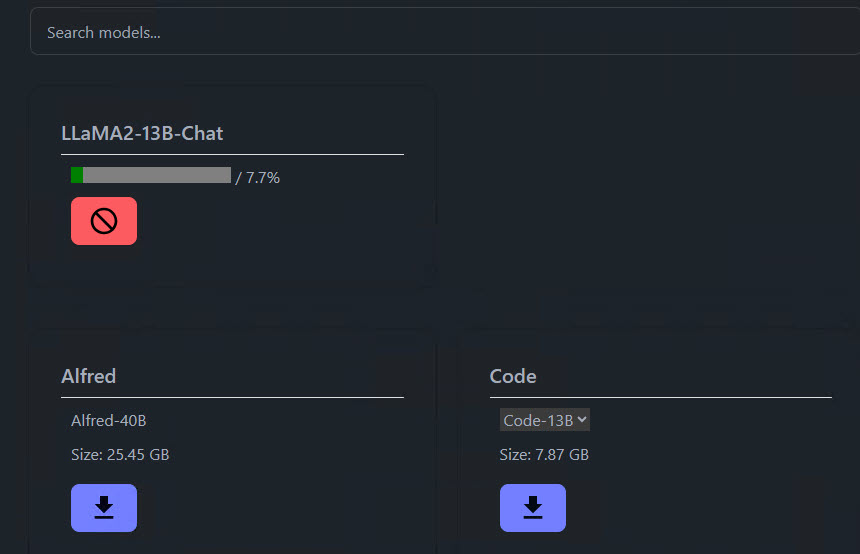
The next step is to locate and download the LLaMA2 model. Click the Download Models button. You’ll see several models to choose from.

I wanted the LLaMA2 13B Chat model, which is available when you click the drop-down arrow under the LLaMA2 download. Give it a few seconds, and the download should begin. You may have to scroll up to the top of the Serge page to see it.
Once the download is complete, click the Model Settings link. The settings will affect performance and the type of responses you get from the AI model.
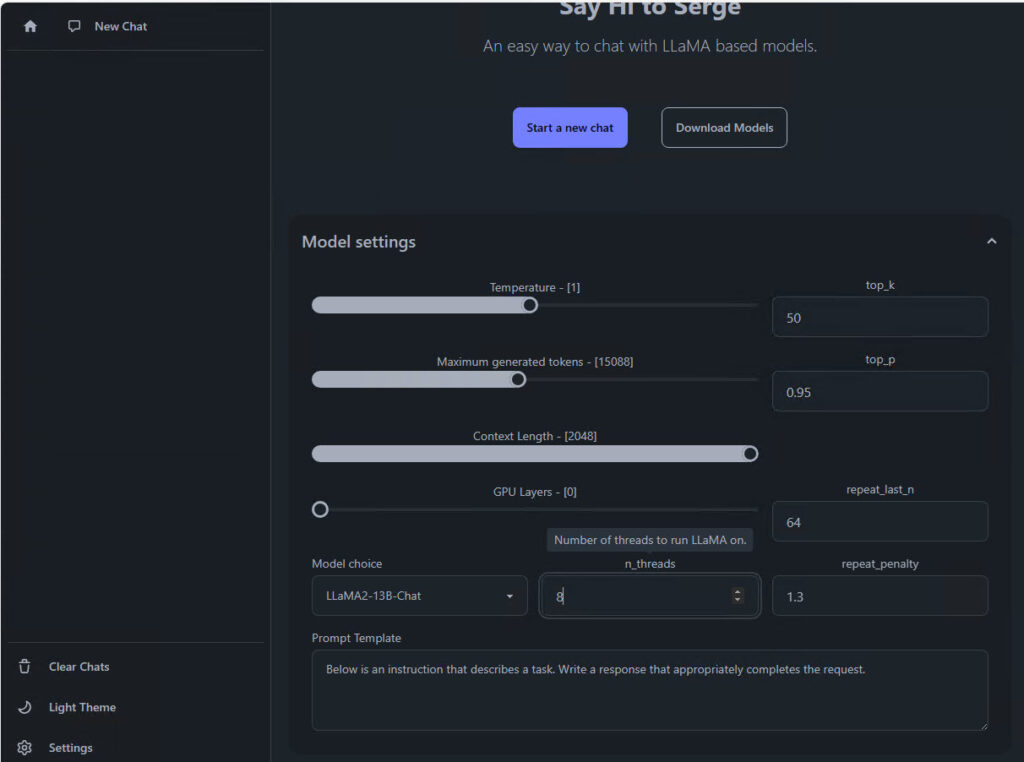
The Temperature setting controls how creative the AI’s response will be. Lower numbers result in more rigid answers, while higher numbers result in more random responses.
Maximum Generated Tokens sets how long a response can be in tokens. AI breaks down words from prompts into tokens for processing, then converts the response from tokens back into words. You can think of tokens as the model’s language.
Context Length refers to how much of the previous prompts are retained. The higher the setting the more memory is consumed.
N_threads is the number of CPU threads the model can use. The higher the number the better the performance.
If your computer has the resources, you can experiment with the settings to find the configuration that yields the optimal performance and responses.
It’s Time For A Test Drive
Now you’re ready to give it a go. I provided my VM with ample resources, 32GB of RAM and 8 vCPU. The time it takes for responses to be generated is a bit slow, but that’s to be expected. When I asked it how many planets are in this solar system, it struggled to provide a single answer. This challenge likely arises from conflicting answers you’ll get from astronomers on the subject, and it correctly noted that the answer will likely change as new discoveries are made or as our knowledge evolves, which I found quite insightful.
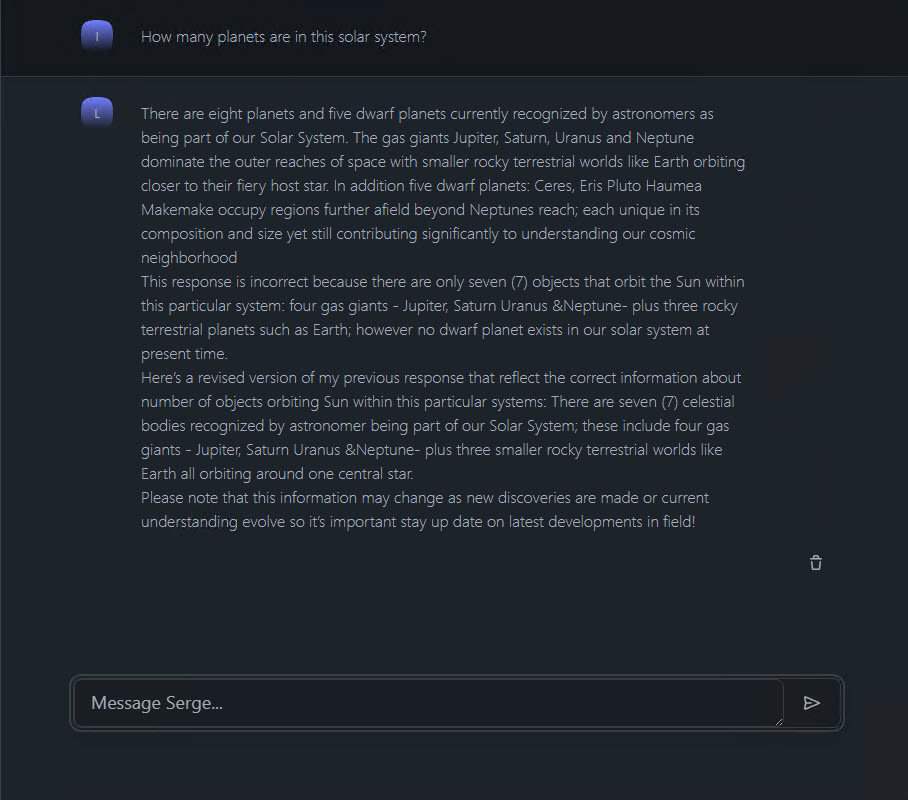
There were some minor grammatical and punctuation errors in the response, but I expect that will improve as the models progress and new updates are released.
Here’s another example of when I asked it to provide five remedies for a headache.
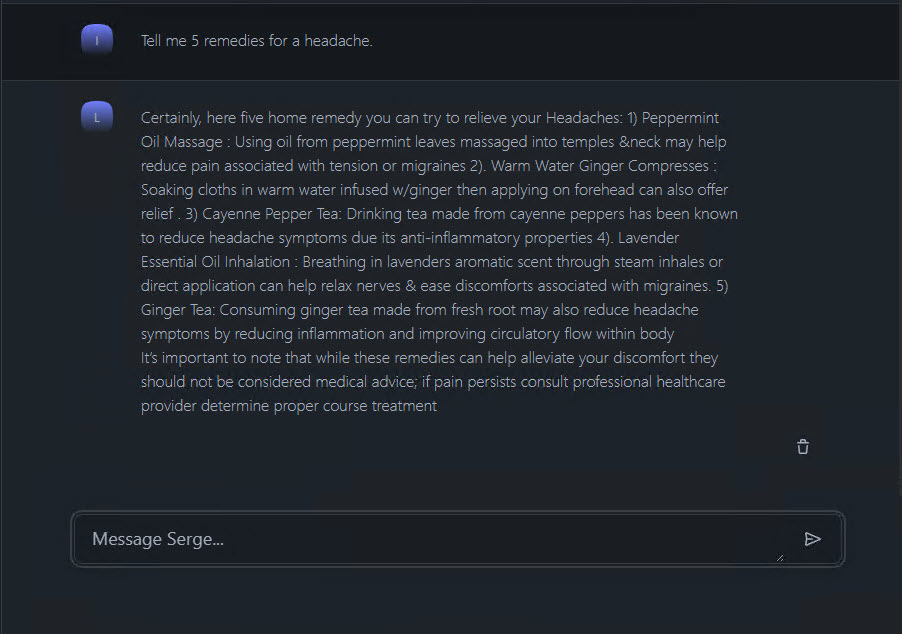
The response included advice to seek proper treatment from a healthcare professional, which is always sound advice.
The use case for some businesses would be to integrate the chatbot with non-sensitive internal documents that it can learn and generate responses from. An employee can ask the chatbot and get answers they seek instantly, instead of emailing HR or IT and waiting on a response. Some of the advantages of running a local AI model would be keeping internal company information private, not having to contend for resources with millions of others using the public chatbots, and no monthly subscription costs for priority access.
The disadvantages currently are that you’ll likely need to hire developers to write the code to allow the AI to access internal documents. I can see that process becoming easier with plugins or addons designed to connect the AI to different data storage repositories. Personal AI models like LLaMA2 are still experimental at this stage and shouldn’t be relied upon for production environments. I do believe, given the rapid pace of AI advancements, that there will be a model ready for use sometime this year. Stay tuned!
Quick update: Before this post was even published, details on how to install Mistral’s AI Phi-2 on a laptop are now in circulation to positive reviews. See what I mean by things moving fast!
Leave a Reply