

Welcome back to our series on Citrix Session Recording. In our previous post, we explored the configuration settings for the Session Recording Agent and Server. Today, we’ll delve into the policy settings essential for initiating session recordings. These policies outline the parameters for the type of recordings desired, identify triggering events, and define the scope for users, groups, or desktop sessions to be recorded.
Configuring a System-Defined Session Recording Policy
A system-defined session recording policy will apply to all agents connected to a session recording server. First, let’s revisit step 5 from Pt.1 of this series on installing the Session Recording Agent. I initially bypassed the HTTPS setup due to a lack of a certificate on the server. I’ll address that now. Note: Using HTTPS is optional; you can proceed with HTTP if preferred.
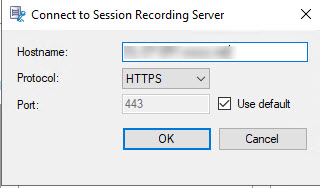
- Install an SSL certificate on the server if you plan to use HTTPS, then navigate to the Citrix folder via the Start menu, and open the Session Recording Policy Console.

- The server’s hostname should appear by default. You might need to enter the server’s FQDN to establish a connection.
Note: If using HTTPS and an error about unable to load site configuration appears, follow these steps:
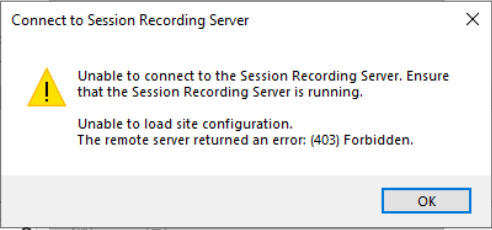
a. Open IIS Manager.
b. Navigate to the Sites folder, locate the SessionRecorderBroker node, and double-click the SSL Settings icon.
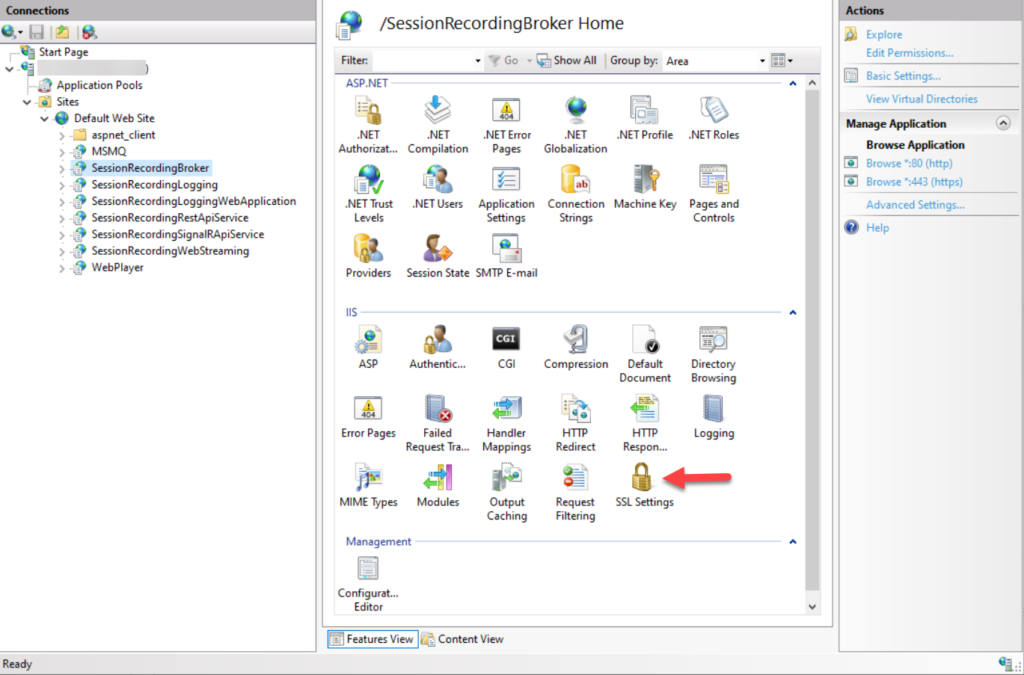
c. Uncheck “Require SSL” and apply the changes. Close IIS and relaunch the Policy Console.

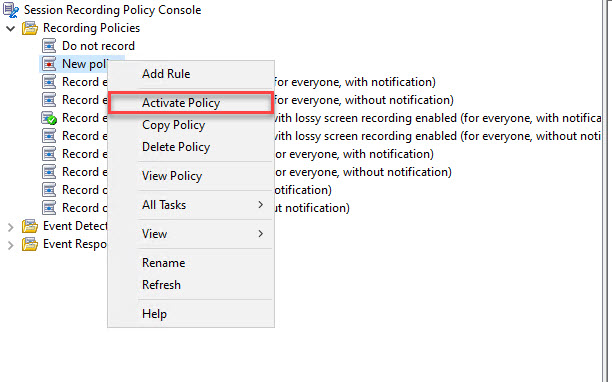
- Expand the Recording Policies folder. The default ‘Do Not Record’ policy is likely active, which means that the server is not going to record any sessions. Note that only one recording policy can be enabled at a time.
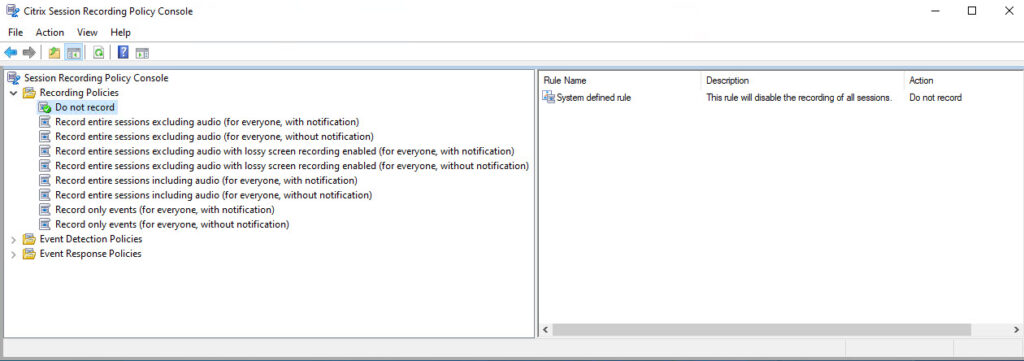
- To change this, select the policy Record entire sessions excluding audio with lossy screen recording enabled (for everyone, with notification). Right-click the policy and select Activate Policy.
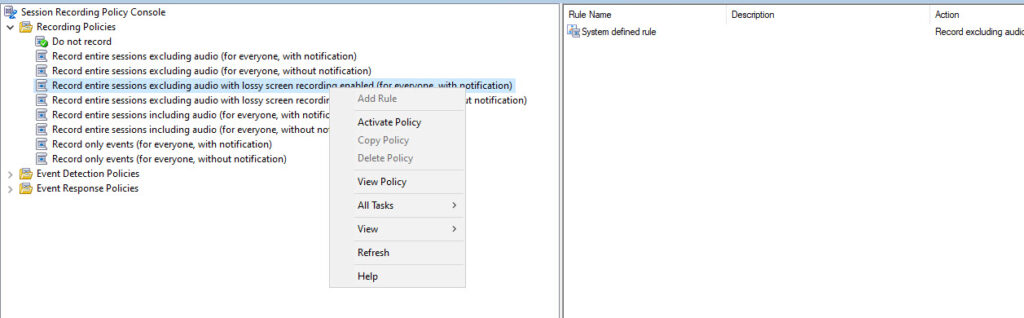
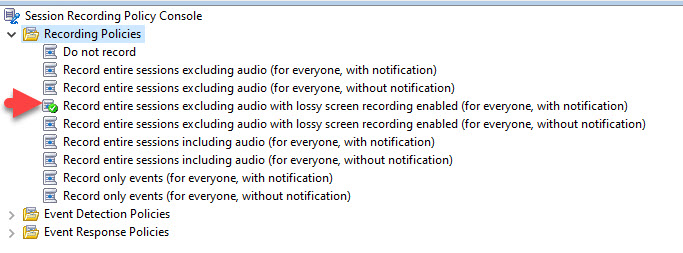
- A green checkmark will appear next to the active policy, confirming its activation. This system-defined recording policy will now apply to all sessions on a VDA where a recording agent is installed.
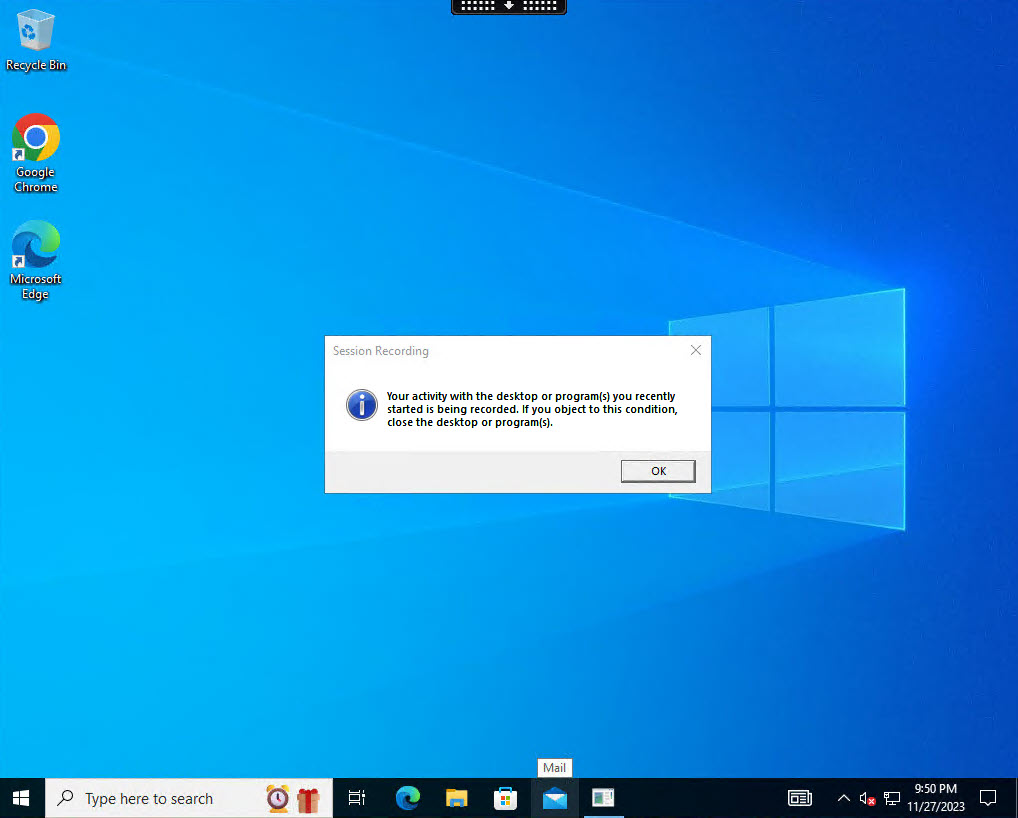
- Start a session on a VDA configured with the recording agent to see a notification that the session is being recorded.
Configuring a Custom Session Recording Policy
A custom recording policy targets specific agents based on defined criteria such as users, groups, or delivery groups. When configuring a custom recording policy, you must configure a rule, which specifies the recording action and the rule criteria.
For example, the next series of steps will create a custom policy that records the entire session of VDAs that are members of a specific delivery group.
- Open the Session Recording Policy Console, right-click the Recording Policies root folder, and choose Add New Policy.

- You’ll see a new policy with a default Fallback rule of Do Not Record. Right-click the new policy, and select Add Rule.

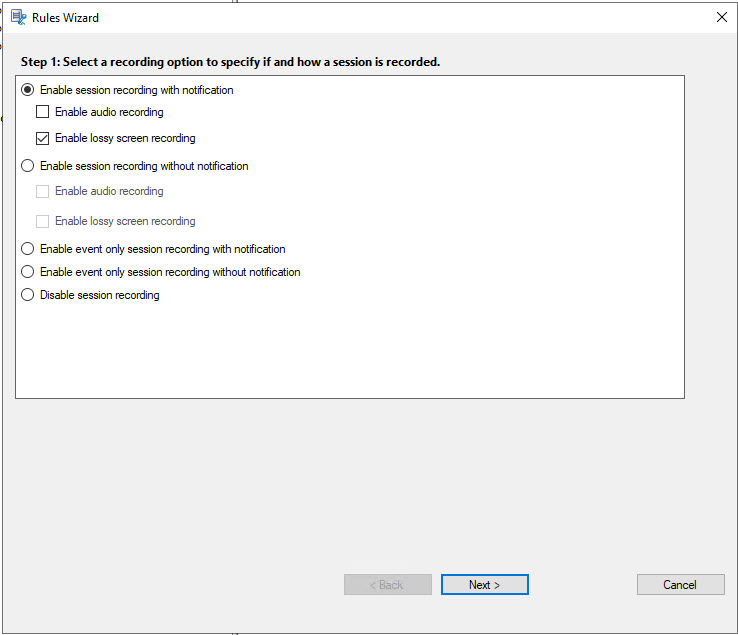
- Follow the Rules Wizard. Choose to Enable session recording with notifications and lossy screen recording.
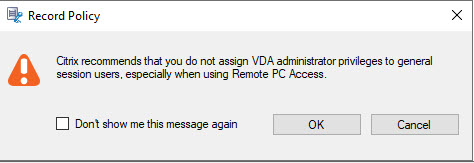
- You may see a prompt warning against assigning VDA administrator privileges to general session users. Click OK to acknowledge it.
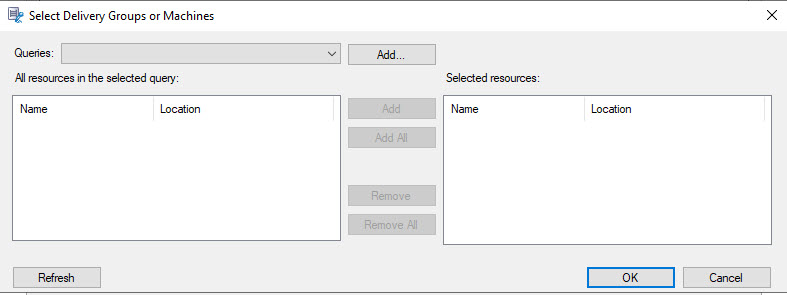
- Specify the delivery groups or machines as your criteria. This involves selecting the appropriate delivery group that has VDAs with the recording agent installed.

- Click the Add button.
- On the Create Query pop-up enter the name of the CVAD delivery controller, or if using Citrix DaaS, select the Citrix Cloud Controller checkbox, then enter the name of the delivery group the rule will apply to.
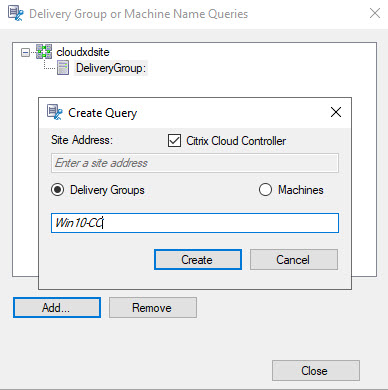
If using Citrix DaaS you may be prompted to sign in multiple times as part of validating the Citrix Cloud credentials. See Citrix documentation on how to create an authentication profile to alleviate this.
- Once the delivery group is found click Close.
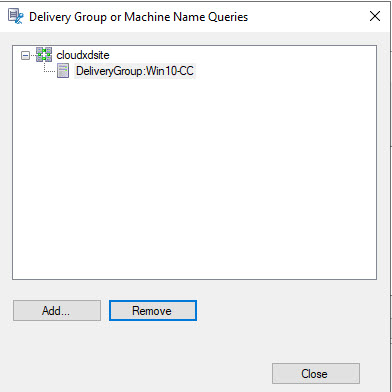
- Click the second Add button to select the delivery group, then click OK.
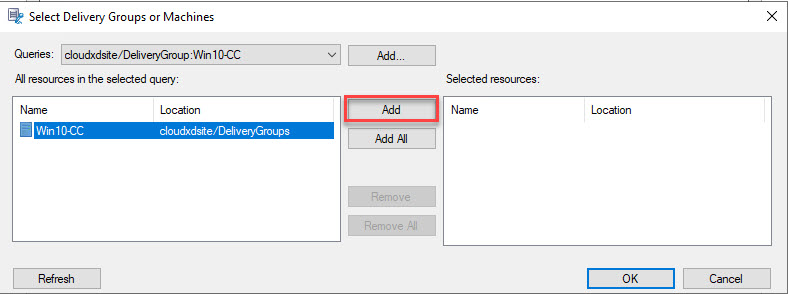
- The delivery group will appear in the rule criteria.
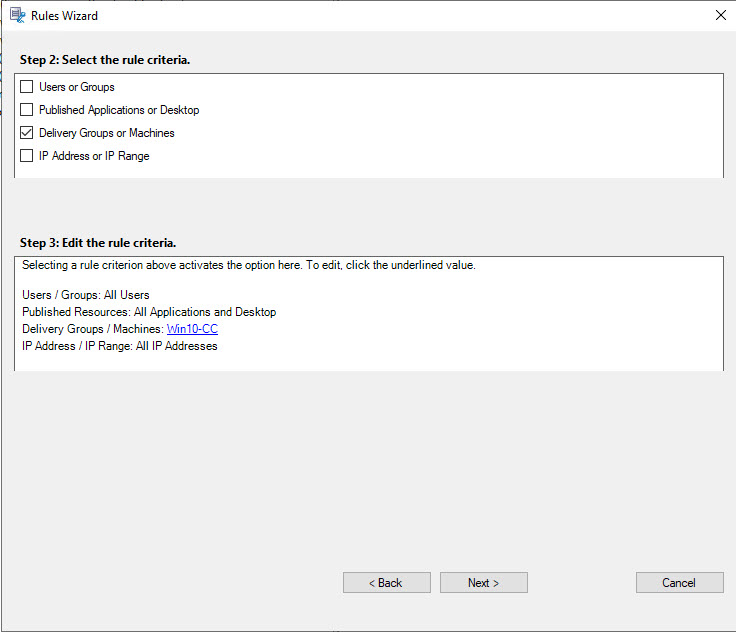
- Name your rule, ensure it’s enabled, and confirm the Delivery Group selection.

- Finish setting up, right-click the new policy and activate it.
Launching a VDA session under this policy will have the following effect. VDAs not in the specified delivery group won’t be recorded. VDAs within the delivery group will see a notification that the session is being recorded, allowing precise control over recording practices.
Stay tuned for our next entry, where we’ll explore Event Detection and Event Response policies.
The views expressed by the author do not represent those of Citrix or Cloud Software Group.
Leave a Reply