

Session Recording is a feature of Citrix Virtual Apps and Desktops that allows administrators to record user sessions. This can be useful for such activities like end user training, helpdesk troubleshooting, monitoring user activity or more. This blog series walks through the steps for installing, configuring and using a Session Recording server. This post covers the steps for installing an on-prem Session Recording Server. For simplicity, I will be installing most key components on a single server, which is not recommended for a production installation, but what you would likely do for a Proof of Concept (POC) testing.
Components
Before starting I recommend having the following ready:
- Windows Server 2022 or 2019 VM for the Session Recording server. For this POC installation I used the following specs: 4 vCPU, 8 GB Ram, 45 GB drive.
- Windows 11 or 10 VDA VM as the Session Recording agent. I chose Windows 10 only because it has less resource requirements than Windows 11, otherwise either OS is fine.
- The name and credentials to a SQL Server that will manage the database.
- Citrix Virtual Apps and Desktop ISO. I am using version 2308.
- Optional: TLS/HTTPS certificate for HTTPS communication.
Install server application
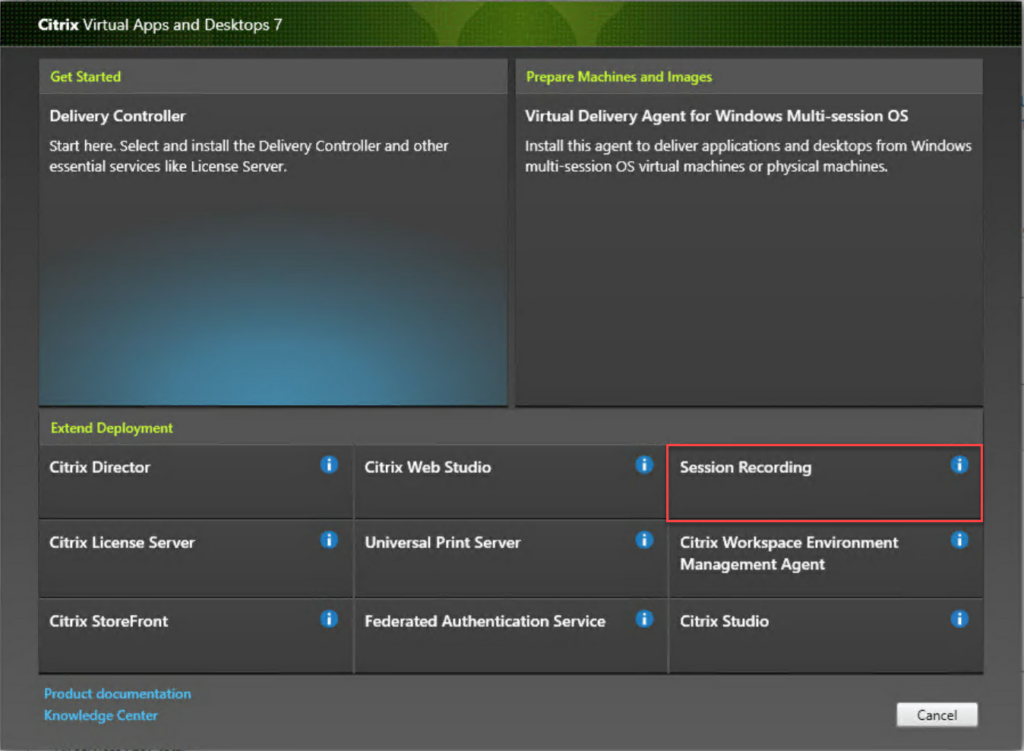
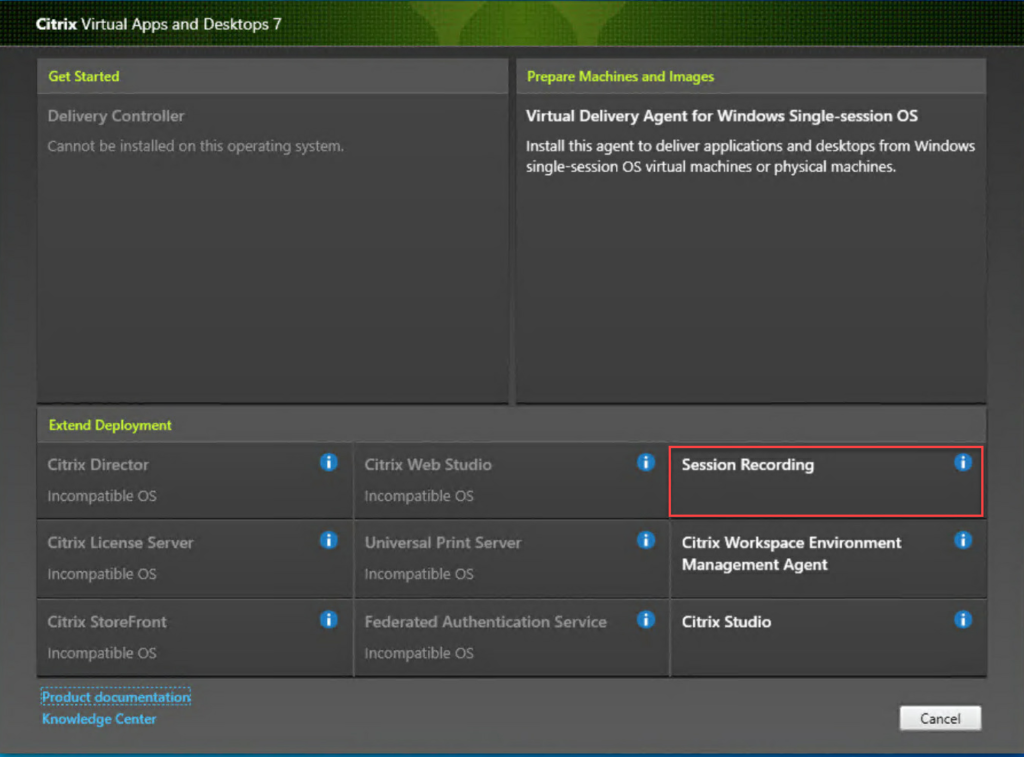
- Launch the Citrix Virtual Apps and Desktops ISO on the Windows server VM. Click the Start button next to Virtual Apps or Virtual Apps and Desktops. (Note: You won’t see this if using CVAD version 2311.)
- From the Extend Deployment section select Session Recording.
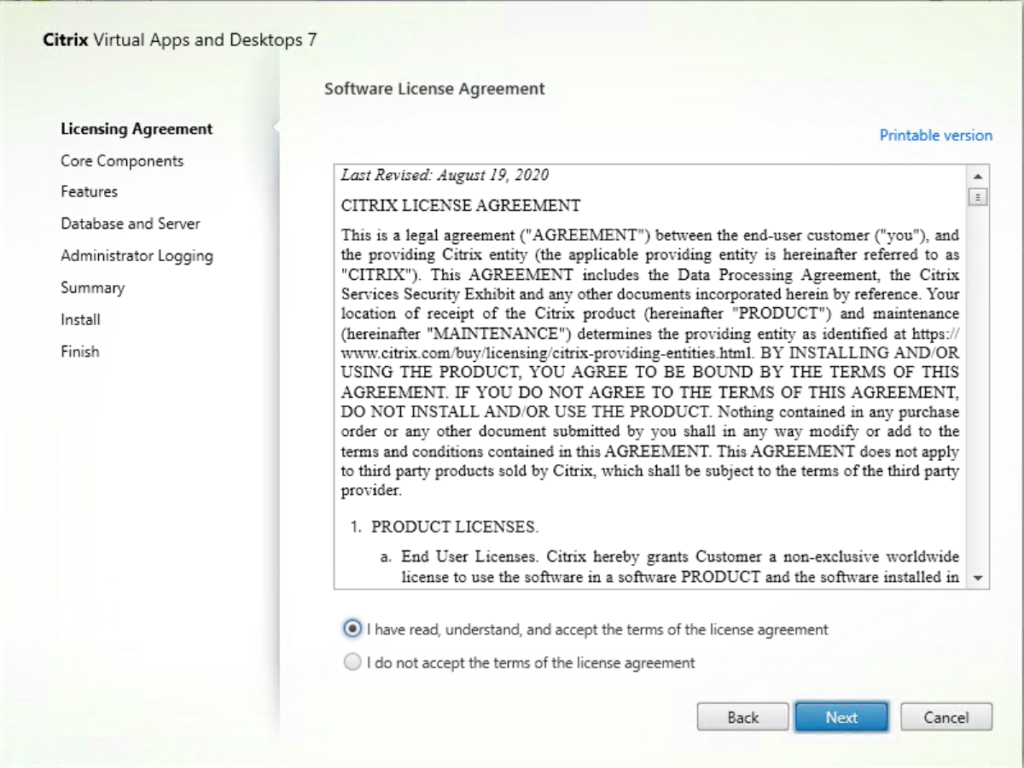
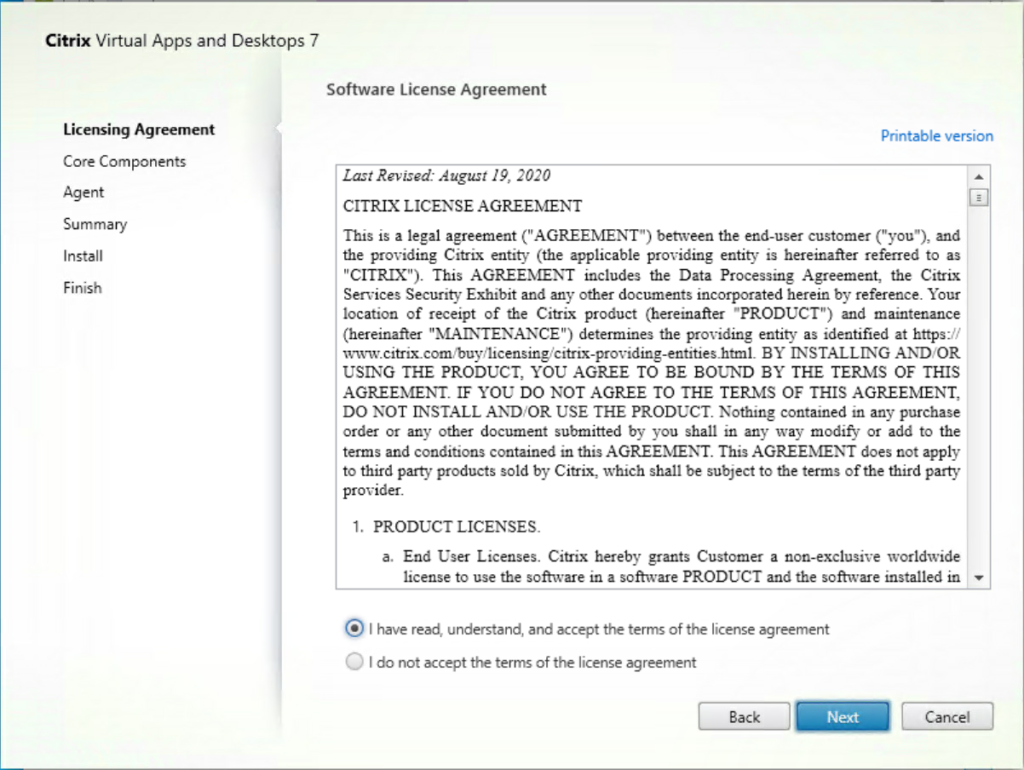
- Accept the software license agreement.
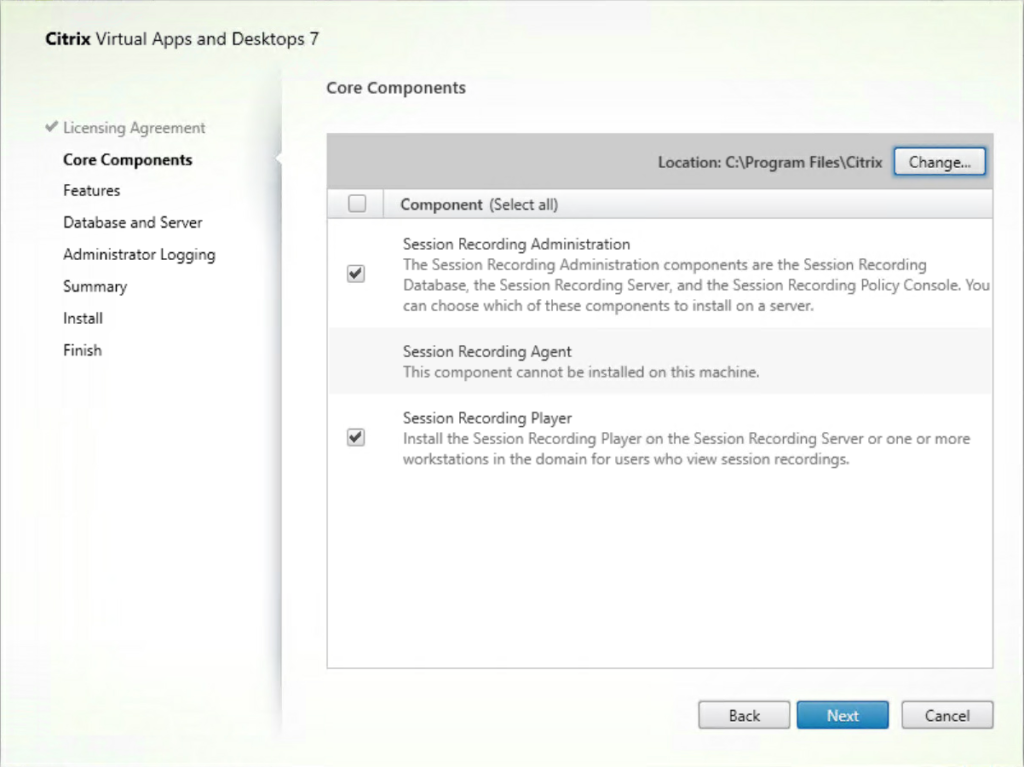
- Keep the default selections of Session Recording Administration and Session Recording Player.
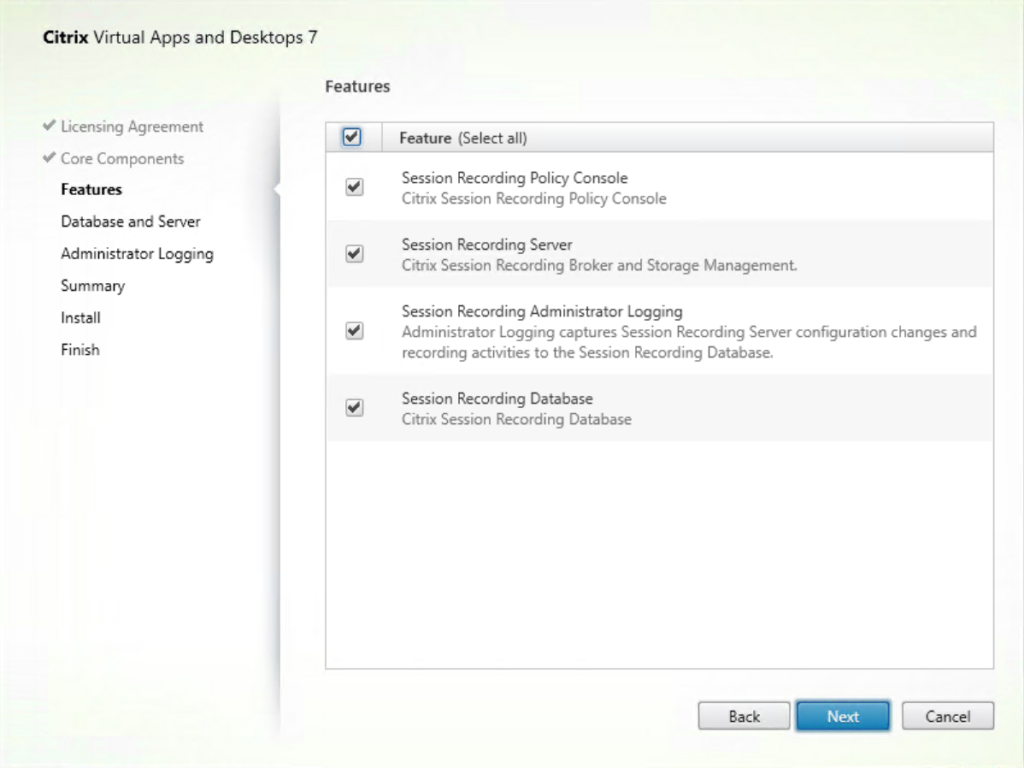
- On the Features selection page, leave the default selection of all features.
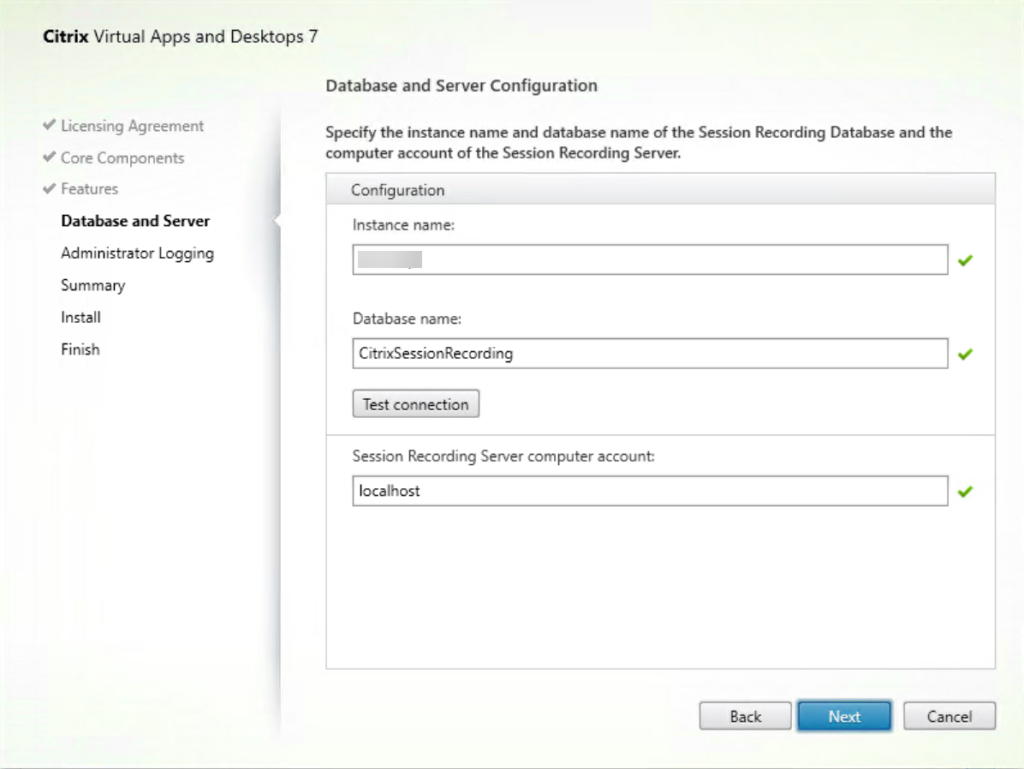
- On the Database and Server Configuration page enter the SQL server instance name, or the name of the SQL server.
- Leave the default name for the Session Recording server database.
- Click the Test Connection button to confirm connection with the SQL server instance.
- Lastly enter the computer account name of the Session Recording server. Note: Citrix recommends entering either localhost or domain name\machine name.
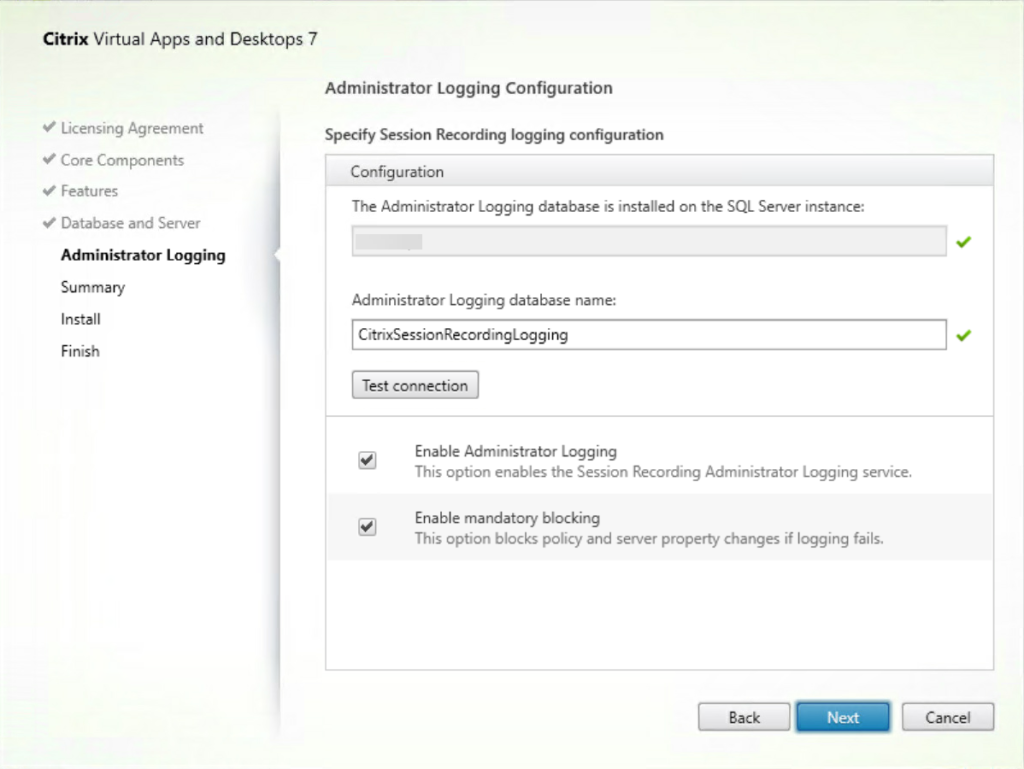
- On the Administration Logging Configuration page, you can leave all the default settings selected. Click the Test Connection button to again validate the connection to the SQL server instance.
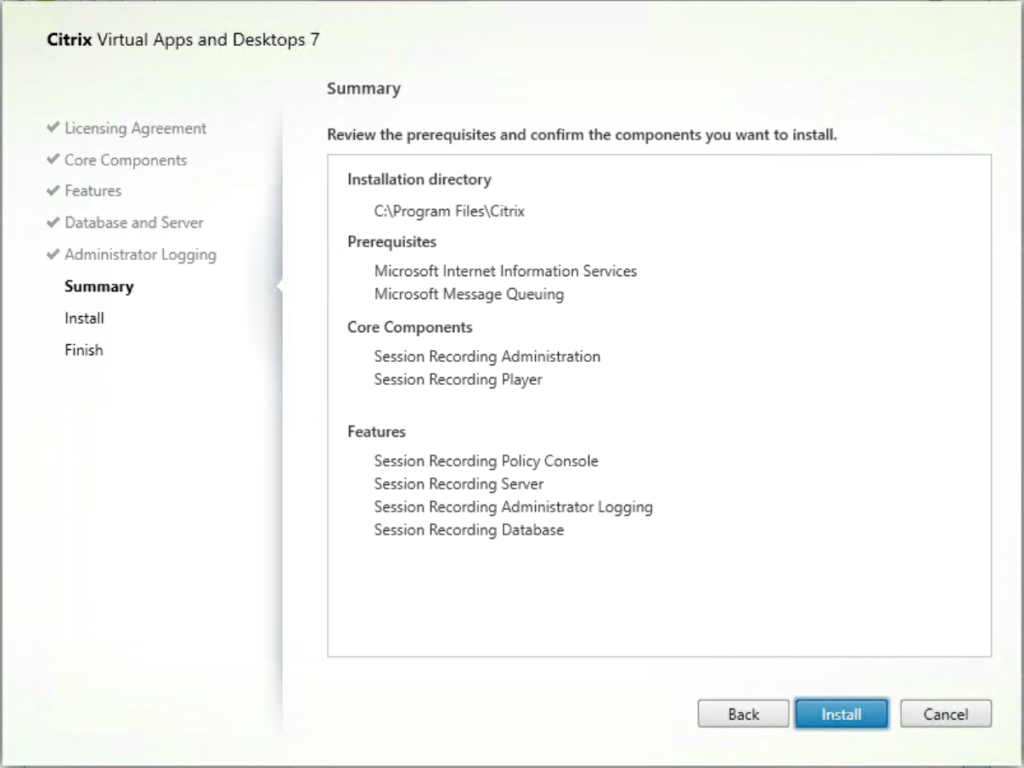
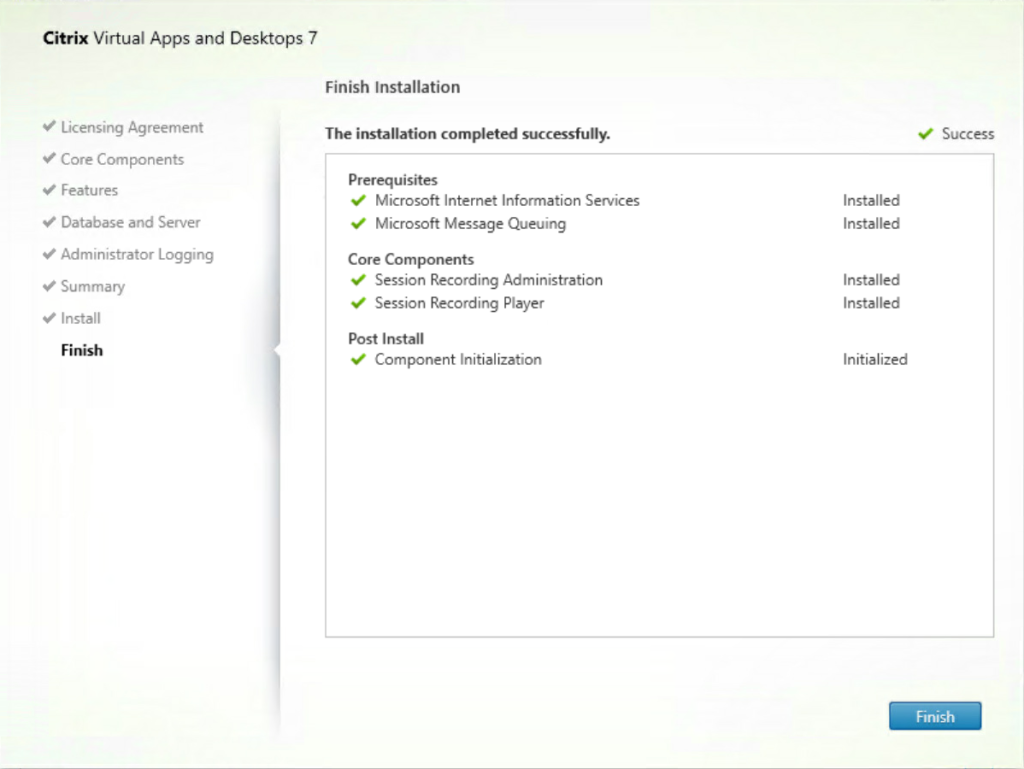
- Review the Summary page and make sure everything looks correct then click the Install button.
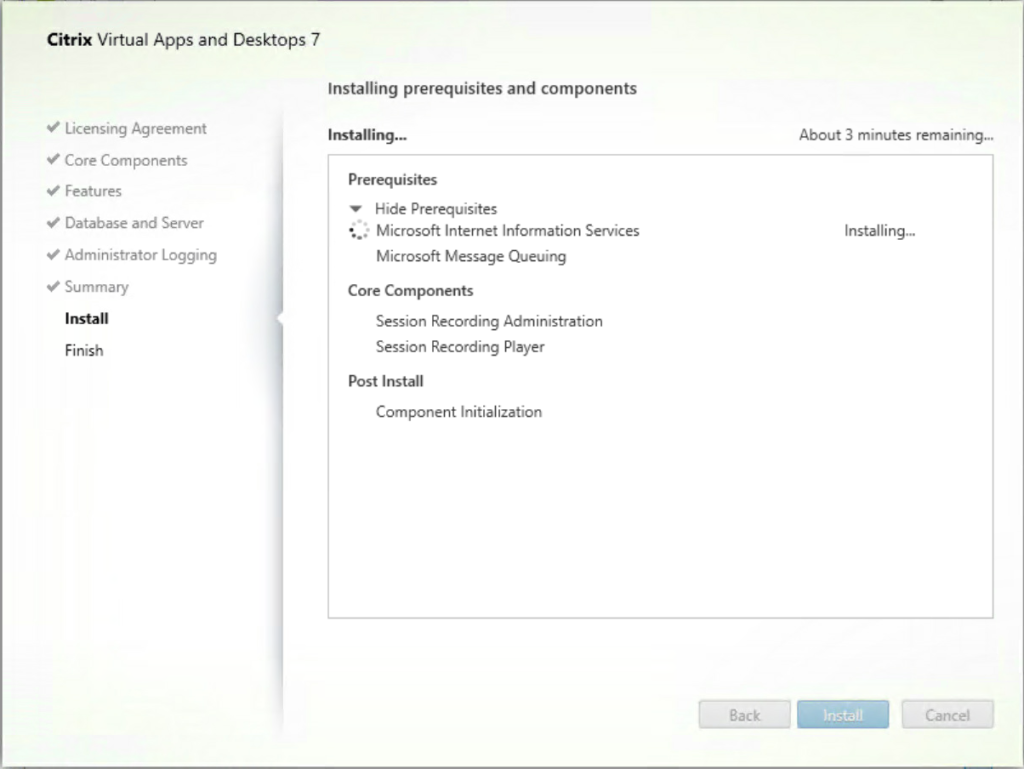
- Monitor the installation progress.
- Once installation is complete click the Finish button.
Install the Broker PowerShell Snap-In
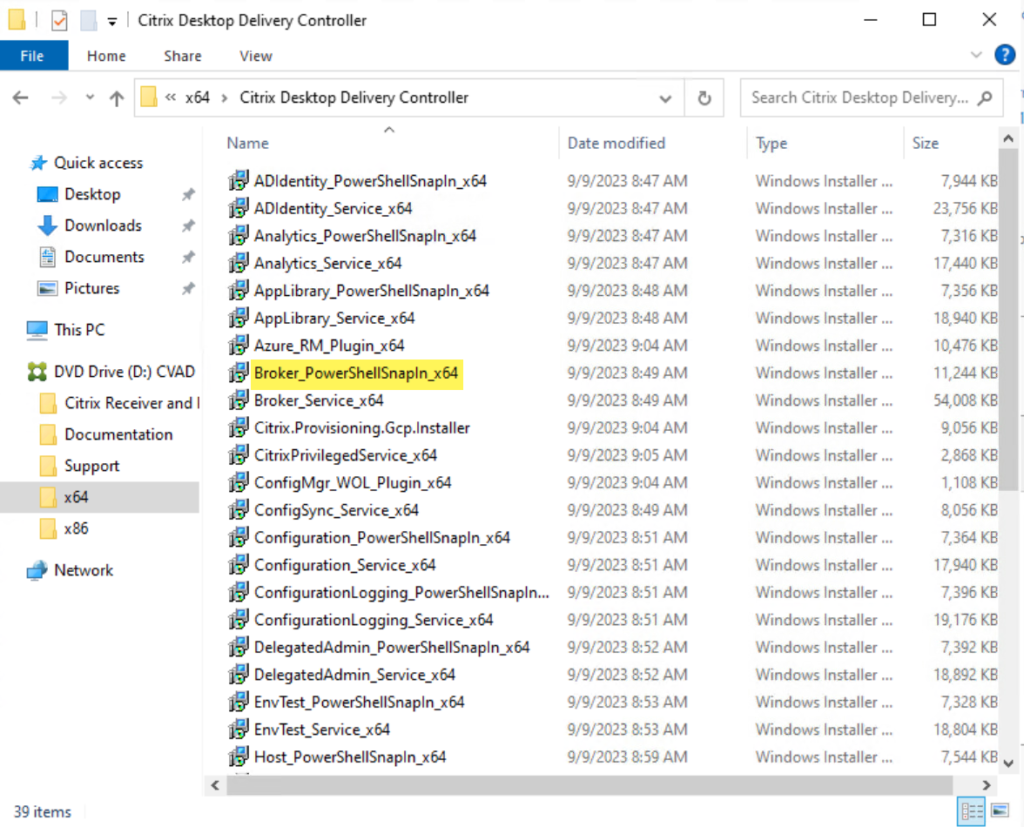
The Citrix Broker PowerShell snap-in extends Citrix Broker cmdlets to PowerShell and is needed to use the Session Recording Policy Console.
- Locate and install the Broker PowerShell snap-in located on the CVAD ISO, in the \x64\Citrix Desktop Delivery Controller folder.
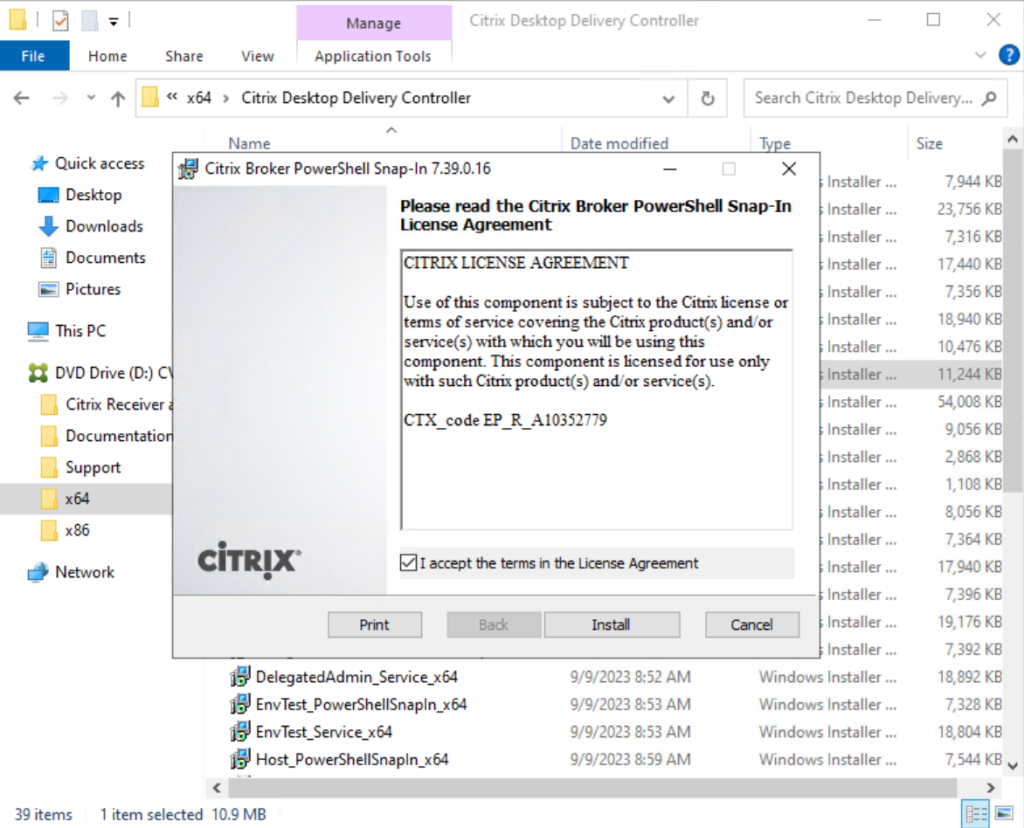
- Accept the License Agreement.
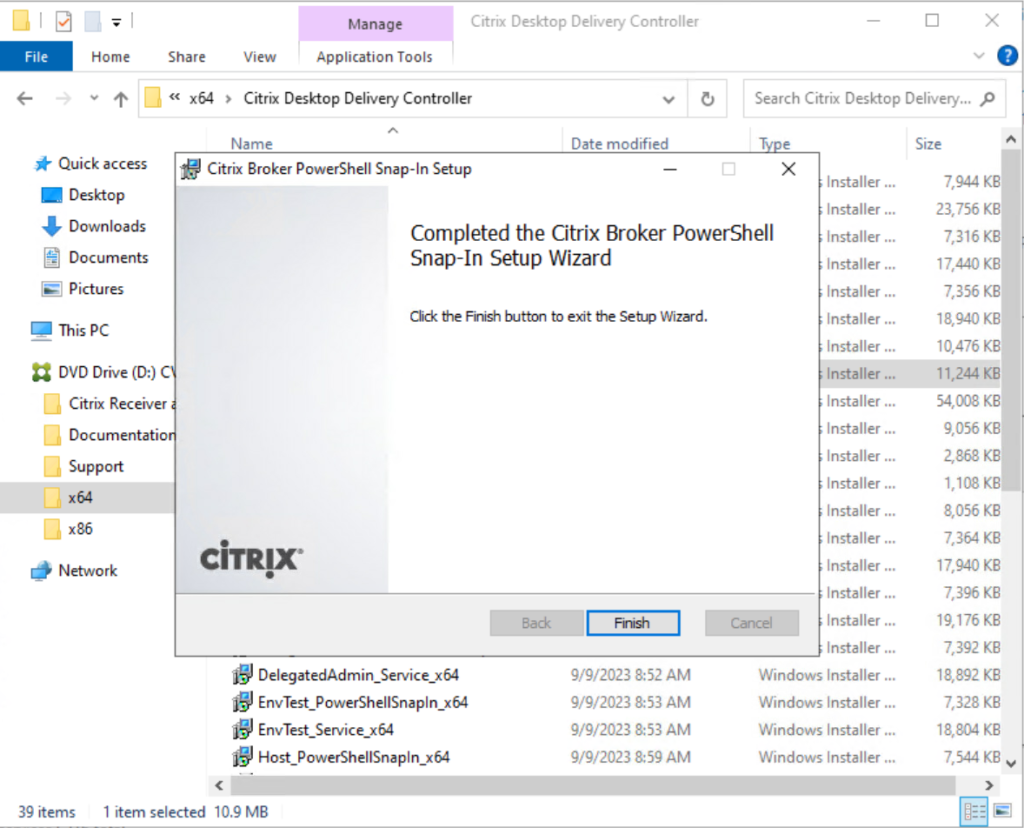
- Click the Finish button once the install is complete.
Install the Session Recording Agent
The Session Recording agent is software installed on the Citrix Virtual Delivery Agent (VDA) whose session you want to record. We’re going to move over now to the Windows 10 desktop VM that will be running the Session Recording agent. Ideally you will have the VDA software already installed on this VM.
- Insert the CVAD ISO in the Windows 10 VM and launch the installer.
- Select Session Recording from the Extend Deployment section.
- Accept the Software License Agreement.
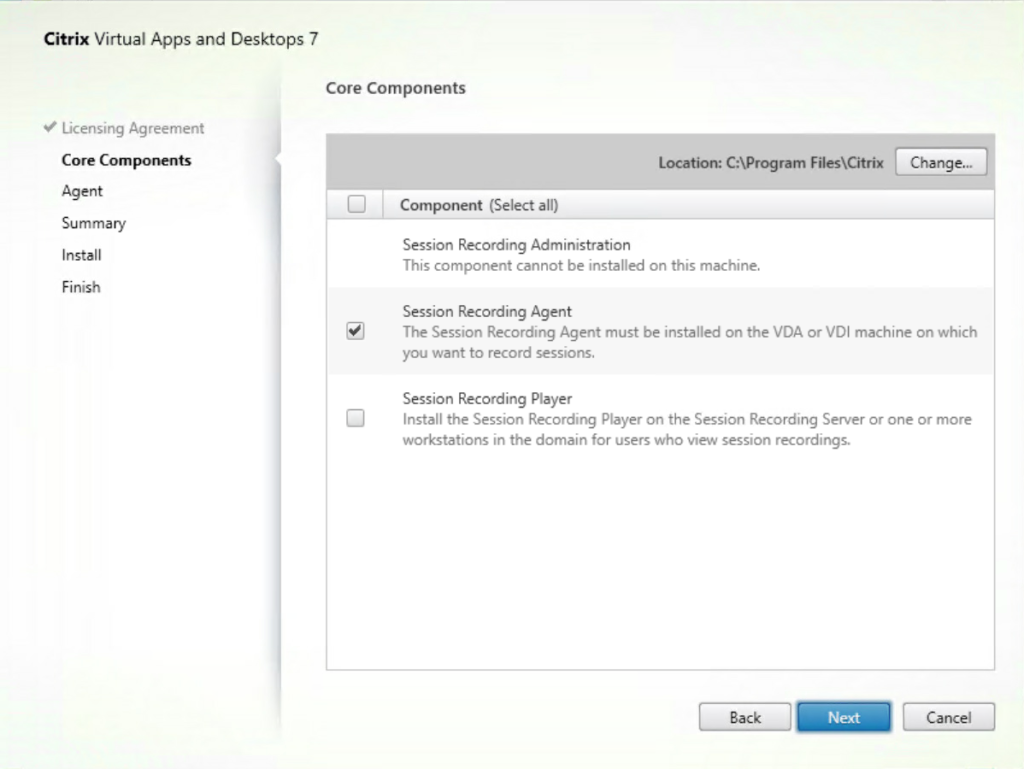
- Deselect Session Recording Administration and Session Recording Player if they are selected by default. Only select Session Recording Agent, then click Next.
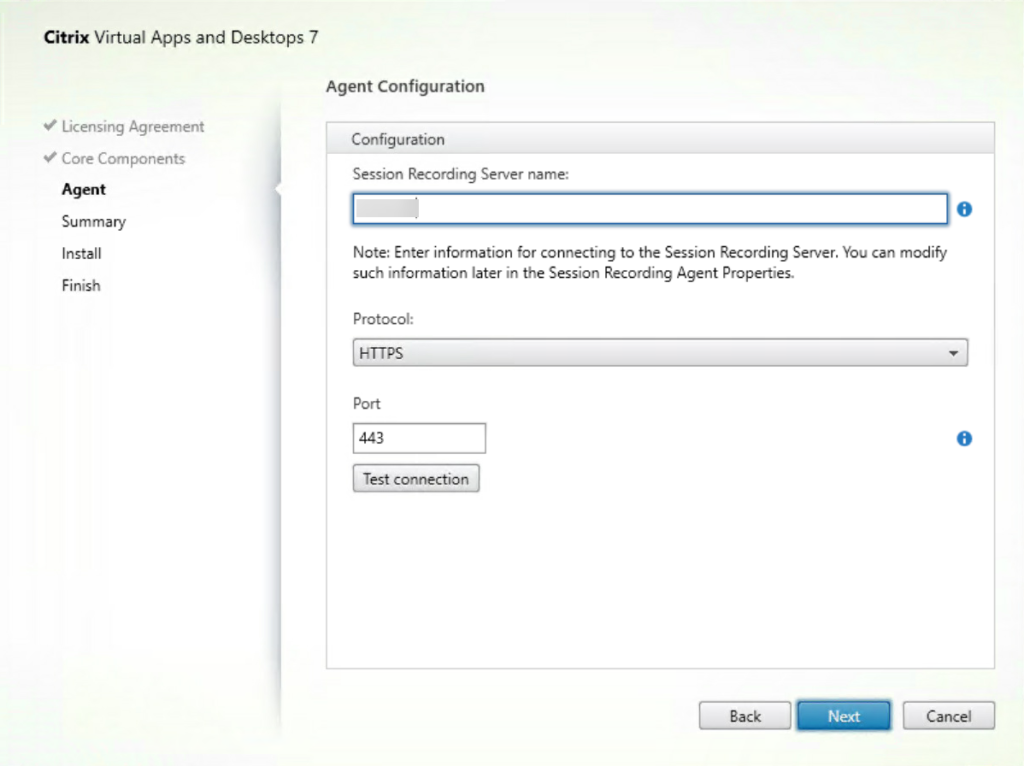
- On the Agent Configuration page, enter the name of the Session Recording server. Leave the protocol set to HTTPS and default port of 443. Skip the Test Connection for now because we haven’t installed a certificate on the Session Recording server yet. However, if you plan to use HTTP, then change the protocol to HTTP and click Test Connection to make sure it’s working.
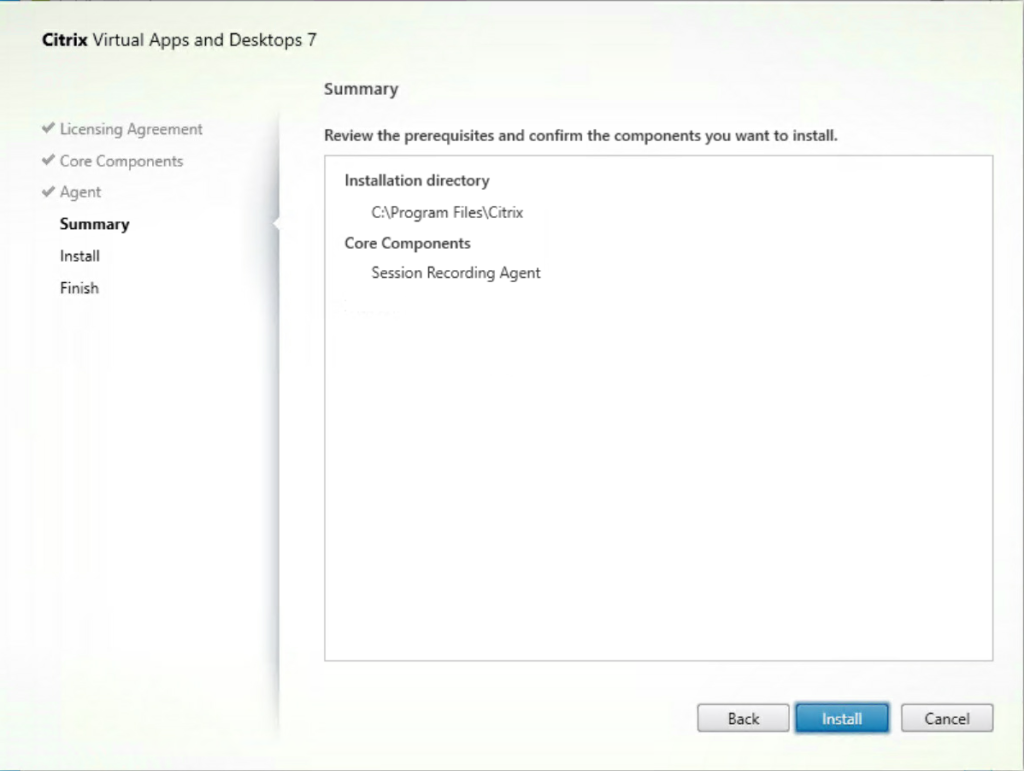
- Review the Summary then click Install.
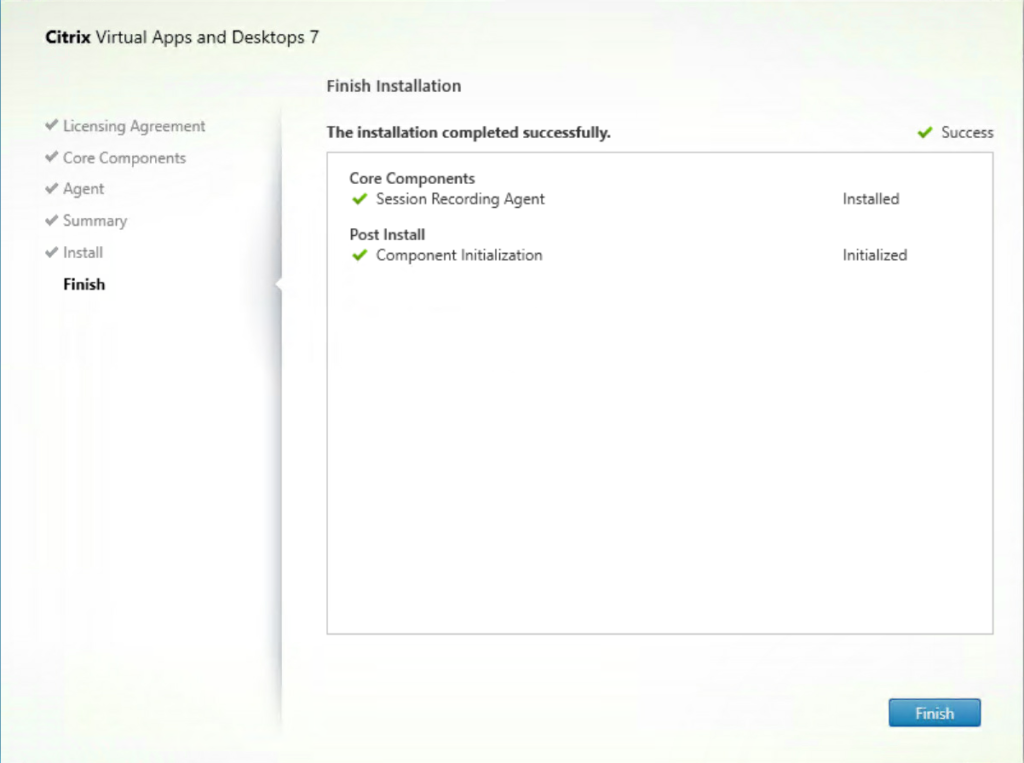
- Click Finish once installation is complete.
That’s it. The installation phase is complete. The next phase is configuration which I will cover in part 2 of this blog series.
Please let me know what you think in the Comments section below.
The views expressed by the author do not represent those of Citrix or Cloud Software Group.
Leave a Reply